.png)


.png)


AI-Powered Key Takeaways


Table of Contents

Introduction
A release can pass every functional test and still look wrong.
A button may still work, but its text is clipped. A form field may still accept input, but overlap another element on a smaller screen. A navigation menu may contain all the correct links, yet render incorrectly after a CSS update.
These are the problems visual regression testing is designed to find.
What Is Visual Regression Testing?
Visual regression testing, sometimes called visual regression testing or visual UI testing, verifies that changes to an application have not unintentionally altered how its interface is rendered.
The basic idea is straightforward:
- Capture an approved version of the interface.
- Store it as the baseline.
- Make a code or content change.
- Capture the interface again under the same conditions.
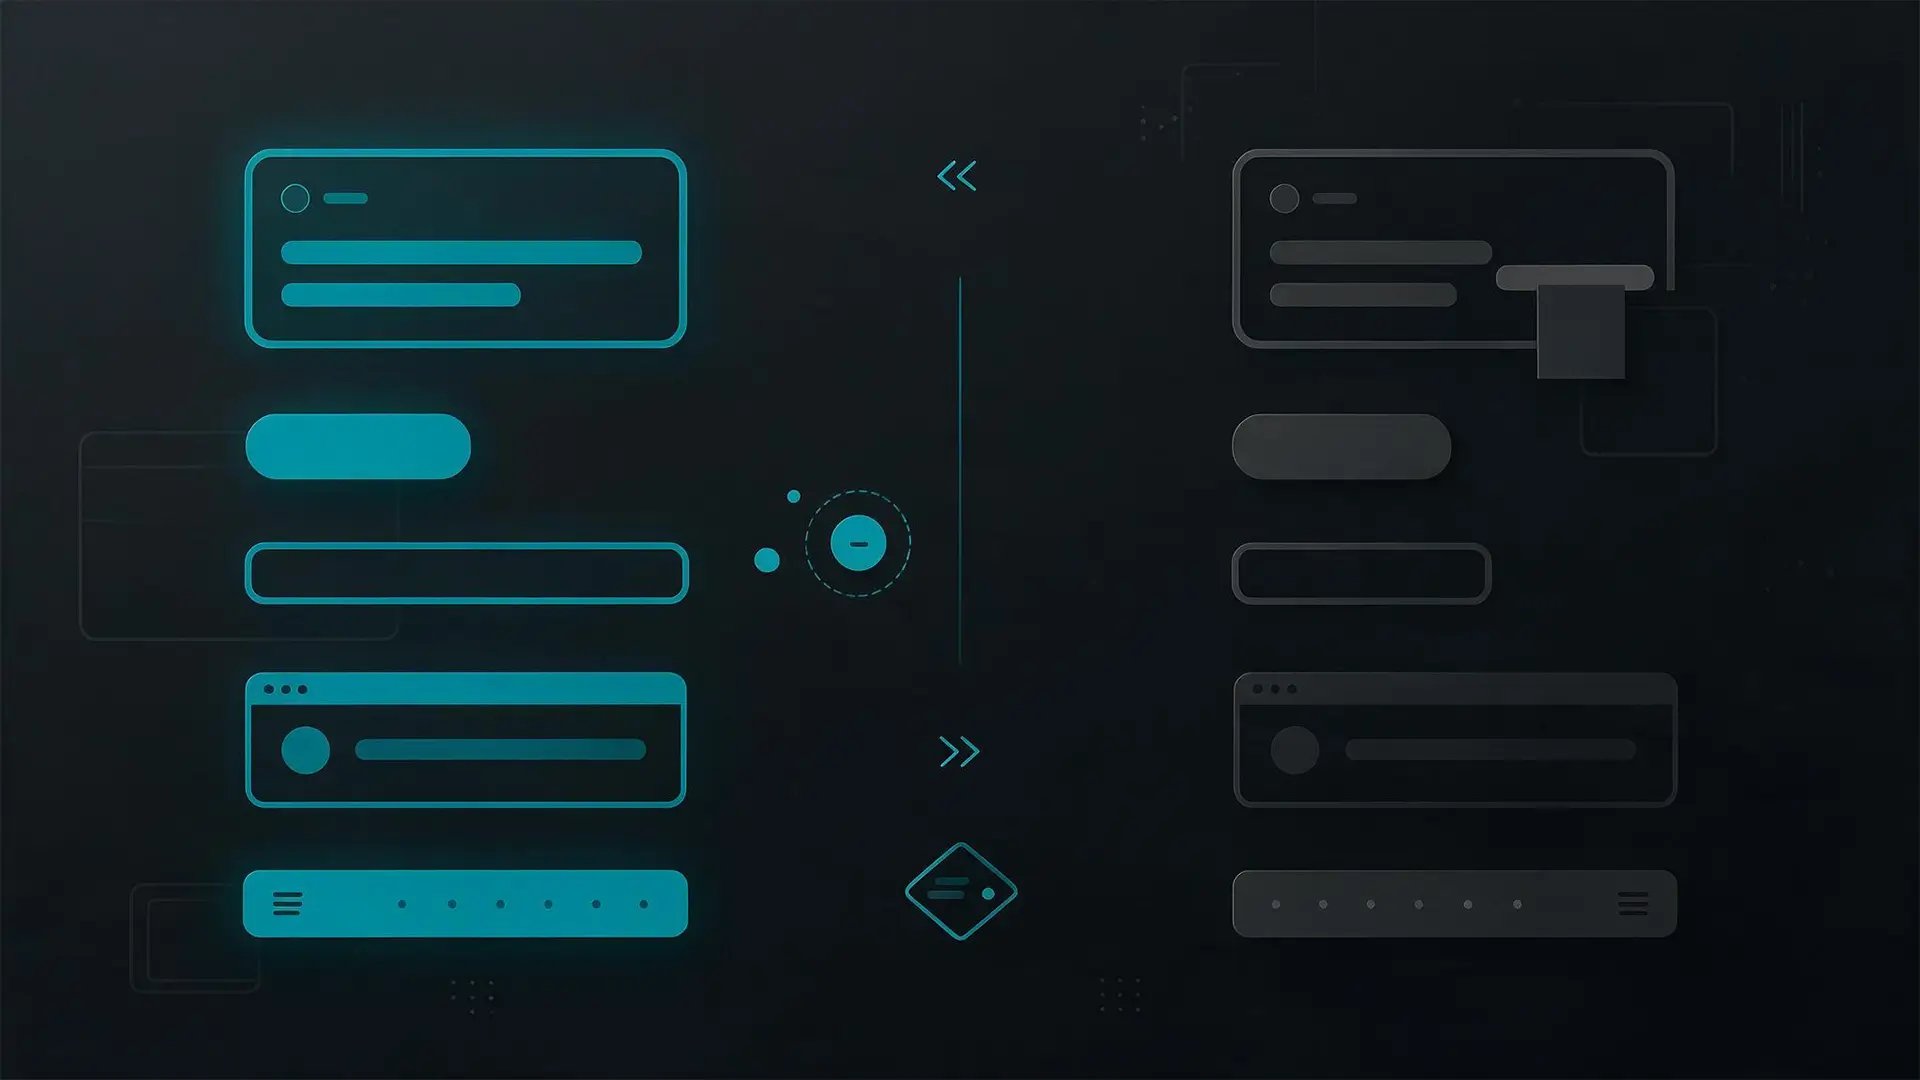
- Compare the new image with the baseline.
- Review any differences.
A visual regression testing tool can automate much of this process by capturing screenshots, comparing them, highlighting differences, and presenting the results for review.
Common visual regressions include:
- Misaligned buttons, fields, cards, or navigation elements
- Text that overlaps other content
- Missing or incorrectly rendered images
- Unexpected font or typography changes
- Incorrect colors or backgrounds
- Elements pushed outside their intended containers
- Broken responsive layouts
- Content hidden behind banners, dialogs, or sticky elements
- Unexpected changes to margins, padding, or spacing
- Components that render differently across browsers or screen sizes
This makes visual regression testing different from traditional functional regression testing.
Functional testing asks: Does the feature behave correctly?
Visual regression testing asks: Does the interface still look and render the way it should?
Both questions matter.
Also Read : AI's Transforming Impact on Visual Regression Testing
Why Visual Regression Testing Matters
Modern interfaces are built from interconnected components, stylesheets, frameworks, responsive rules, third-party assets, fonts, and reusable design-system elements.
A seemingly small change can therefore affect parts of the application that were never intentionally modified.
1. Catch visual defects functional tests may miss
Functional tests usually validate states, actions, outputs, selectors, or API responses. They do not necessarily determine whether the rendered result is visually usable.
For example, an automated functional test may successfully locate and click a checkout button even though another UI element partly covers that button for real users.
Visual regression testing adds another layer of validation by checking the rendered interface itself.
2. Detect unintended effects of shared UI changes
Many applications rely on reusable components.
A developer changing the padding of a shared button, modal, card, or navigation component can unintentionally affect dozens of screens. Visual checks make it easier to see the broader effect of that change.
3. Validate responsive interfaces
An interface that renders correctly at 1440 pixels wide may break at 768 pixels or 390 pixels.
Visual testing at selected viewport sizes can expose:
- Unexpected wrapping
- Overflow
- Misaligned grids
- Cropped content
- Broken navigation
- Incorrect responsive spacing
4. Find browser-specific rendering differences
Browsers and operating systems do not always render fonts, spacing, controls, and other visual details identically.
Running visual checks across the environments that matter to your users helps uncover browser-specific UI problems that may otherwise be missed.
5. Make UI reviews more focused
Without automated comparisons, teams may have to manually inspect many screens after every release.
With automated visual regression testing, reviewers can focus their attention on screens where the tool has detected a difference.
That does not remove the need for human judgment. It reduces the amount of unchanged UI that testers need to inspect repeatedly.
When to Perform Visual Regression Testing?
Visual regression testing is particularly useful when a change can affect the rendered interface.
Common points at which to run it include:
1. After CSS or styling changes
Changes to CSS, themes, typography, spacing, colors, responsive rules, or layout systems can affect multiple screens.
Visual testing helps reveal whether those changes remained within their intended scope.
2. After design-system or shared-component updates
Reusable buttons, cards, navigation components, form controls, dialogs, tables, and other shared elements can have a large visual impact.
Component-level visual tests are especially useful here.
3. During responsive design changes
Run tests at representative viewport sizes whenever breakpoints, grid systems, navigation patterns, or responsive behavior change.
4. After front-end dependency upgrades
Updates to UI frameworks, component libraries, fonts, browser engines, or other dependencies may introduce rendering differences even when application logic is unchanged.
5. After localization or content changes
Longer translated strings, new product names, updated CMS content, or different image dimensions can cause unexpected wrapping and layout problems.
6. Before merging significant UI changes
Teams using automated visual regression testing can run visual checks as part of pull-request or CI workflows so differences are reviewed before they reach the main branch.
7. Before important releases
Visual tests are useful before releases involving redesigned pages, new customer journeys, navigation changes, checkout updates, new forms, or other interface-heavy work.
The goal is not to screenshot every screen after every change. Test the parts of the interface where a visual regression would matter.
Visual Regression Testing Example
Consider a mobile commerce application that supports several languages.
A developer updates a shared button component to accommodate a new font. The functional checkout test still passes:
- The page loads.
- The button is present in the DOM.
- The button is enabled.
- The automation framework can click it.
- The next page opens successfully.
However, on a smaller device using a language with a longer translation, the button text now extends outside the button boundary.
From a functional automation perspective, the flow still works.
From a user's perspective, the interface is visibly broken.
A visual regression test could catch the problem as follows:
- The approved checkout screen is stored as a baseline.
- The same screen is rendered after the component update.
- A new screenshot is captured at the selected device or viewport size.
- The current image is compared with the baseline.
- The changed button region is highlighted.
- A tester reviews the difference and determines that the text overflow is unintended.
- The UI is corrected, and the test is run again.
If the change had been intentional, the reviewer could approve the new appearance and update the baseline instead.
That approval step is important. A visual difference is not automatically a defect.
Also Read : A Complete Guide to AI Regression Testing
Visual Regression Testing Methods
There is more than one way to determine whether an interface has visually changed.
The right method depends on how precise comparisons need to be, how dynamic the interface is, and how much test noise the team can manage.
Pixel-level testing is highly sensitive. That sensitivity can be useful, but minor differences in anti-aliasing, fonts, shadows, or rendering can produce unwanted failures. More advanced comparison techniques attempt to distinguish meaningful changes from this background noise.
There is no universally best method. The goal is to choose an approach that reliably identifies the differences your team cares about without producing so many irrelevant results that reviewers stop trusting the tests.
Component-Level vs Page-Level Visual Regression Testing
Visual regression tests can also be organized according to how much of the interface they validate.
Two common approaches are component-level and page-level testing.
1. When component-level testing works best
Component-level tests are valuable when teams maintain reusable UI libraries or design systems.
If the same button component appears on 40 screens, testing that component in its important states can identify problems before they propagate through page-level testing.
Tests may cover states such as:
- Default
- Hover
- Focused
- Disabled
- Loading
- Error
- Different themes
- Different content lengths
2. When page-level testing works best
Page-level testing captures the assembled experience.
A component may render correctly in isolation but fail when placed alongside real content, navigation, advertisements, sticky headers, responsive containers, or other components.
Page-level testing is therefore useful for high-value screens and complete user journeys.
In practice, effective visual regression strategies usually use both. Component tests provide focused coverage, while page-level checks validate how the complete interface comes together.
Also Read - Regression Testing Best Practices for Reliable Software Releases
How to Perform Visual Regression Testing: Step-by-Step
Step 1: Decide what needs visual coverage
Do not begin by capturing every available screen.
Prioritize areas where a visual defect could affect usability or where UI changes occur frequently.
Possible candidates include:
- Login and registration
- Checkout and payment
- Navigation
- Search
- Forms
- Product or pricing pages
- Dashboards
- Reusable components
- Error states
- Empty states
- Responsive layouts
Step 2: Define the test environment
Visual comparisons are easier to trust when baseline and test screenshots are captured under consistent conditions.
Define variables such as:
- Browser
- Browser version
- Operating system
- Device or viewport size
- Font availability
- Theme
- Locale
- Test data
- Application state
Rendering can differ across operating systems, browser versions, hardware, and other environmental factors, which is why controlled comparison conditions matter.
Step 3: Create the baseline
Run the application in a known-good state and capture the required screenshots.
Review them before approval.
A flawed baseline makes later comparisons far less useful because the test will treat that flawed appearance as the expected result.
Step 4: Reproduce the same application state
Run the test again after a code, configuration, dependency, or content change.
The test should navigate to the same state used for the baseline.
That may require controlling:
- Login state
- Test accounts
- API responses
- Dates
- User-generated content
- Modal state
- Animation state
- Feature flags
Step 5: Capture the new screenshot
Capture the same component, viewport, page, or application state.
For automated visual regression testing, this step is normally performed by the test framework or visual regression testing tool.
Step 6: Compare the result with the baseline
The tool evaluates the baseline and current image using its configured comparison method.
Depending on the tool, the result may include:
- Baseline image
- Current image
- Difference image
- Highlighted changed regions
- Percentage or number of changed pixels
- Pass/fail result
Step 7: Review the difference
Determine whether each detected difference is:
- An unintended regression
- An expected product change
- Test noise
- An environmental difference
- Dynamic content that should be excluded
Automated detection should support review, not replace it.
Step 8: Fix regressions or approve the change
If the difference is a bug, fix the interface and rerun the test.
If it represents an intentional design change, approve the new version.
Step 9: Update the baseline carefully
Only update the baseline after confirming that the current rendering is correct.
Automatically replacing baselines whenever tests fail can hide genuine regressions.
Step 10: Add the test to the development workflow
Once tests are stable, run them at appropriate points such as:
- Pull requests
- CI builds
- Nightly test suites
- Release candidates
- Design-system releases
This turns visual regression testing from an occasional manual check into a repeatable quality control.
Visual Regression Testing Techniques
The comparison algorithm is only part of a reliable visual testing strategy. How tests are designed has just as much impact on their usefulness.
1. Baseline screenshot testing
This is the standard technique.
Capture an approved screenshot and compare subsequent versions with it.
Baselines should be versioned and reviewed rather than treated as disposable test output.
2. Element or region-based testing
Instead of capturing an entire page, capture only the component or region being validated.
This reduces noise and makes failures easier to interpret.
For example, a test for a pricing card may not need to compare the page header, promotional carousel, and footer.
3. Full-page screenshot testing
Capture an entire page when the relationship between sections matters.
This is useful for:
- Landing pages
- Checkout experiences
- Long forms
- Dashboards
- Content-heavy pages
Full-page tests offer broader coverage but can produce more visual differences to review.
4. Cross-viewport testing
Capture the same interface at selected viewport sizes.
Choose viewports based on your actual responsive design requirements rather than trying to test every possible screen width.
5. Cross-browser visual testing
Run the same visual scenario in the browsers that matter to your user base.
Use separate approved baselines where browser rendering is expected to differ.
6. Dynamic-region masking
Exclude or mask areas that change on every run but are not relevant to the test.
Examples include:
- Timestamps
- Rotating advertisements
- Live counters
- Random avatars
- Personalized recommendations
- Continuously updating charts
7. Comparison thresholds
Some tools allow teams to tolerate a defined amount of pixel difference.
Thresholds can reduce insignificant failures, but they should be set deliberately. A threshold that is too generous can hide small but genuine defects.
8. Stable test data
Use predictable content where possible.
A screenshot containing different usernames, product prices, dates, or images on every run will produce unnecessary differences even when the underlying UI is correct.
9. State-specific visual testing
Do not test only a component's default appearance.
Useful states can include:
- Loading
- Empty
- Error
- Selected
- Expanded
- Disabled
- Mobile navigation open
- Form validation failure
These states often expose layout problems that are absent from the standard view.
Also Read - A Complete Guide to Cross Browser Testing
Common Challenges in Visual Regression Testing
Visual regression testing can quickly become frustrating if every run produces dozens of differences that nobody cares about.
The main challenge is therefore not simply detecting change. It is separating meaningful change from noise.
1. False positives
A false positive occurs when the test reports a visual difference that is not a meaningful regression.
Common causes include:
- Font rendering differences
- Anti-aliasing
- Shadows
- Subpixel positioning
- Different browser versions
- OS rendering differences
- Image compression
- Small timing differences
Running baseline and comparison tests in consistent environments can reduce this problem.
2. Dynamic content
Live data makes screenshots difficult to compare.
Dates, prices, advertisements, recommendations, charts, account information, and other changing content can trigger differences on every run.
Depending on the test, teams can mock the data, hide the affected region, or use a comparison method that tolerates approved dynamic areas.
3. Animations and transitions
A screenshot captured halfway through an animation will rarely match a screenshot captured after it finishes.
Disable unnecessary animations during visual testing or wait until the interface reaches a stable state.
4. Baseline maintenance
Interfaces change constantly.
Every legitimate change may require a new approved baseline. If baseline updates are poorly controlled, reviewers can accidentally approve defects.
Baseline review should therefore be treated similarly to reviewing other test or code changes.
5. Too much visual coverage
Capturing every possible state, browser, device, and page may sound comprehensive, but it can create an enormous review burden.
Prioritize high-risk components, important user journeys, supported environments, and screens where visual correctness matters most.
6. Flaky screenshot timing
Screenshots taken before fonts, images, API responses, or components finish loading can differ between runs.
Tests need reliable conditions for determining when the UI is ready for capture.
The Role of AI in Visual Regression Testing
Traditional screenshot comparison is good at answering:
Are these images different?
The harder question is:
Does the difference matter?
This is where AI-assisted visual testing can help.
Computer vision and other image-analysis techniques can evaluate visual structure rather than treating every changed pixel as equally important.
Depending on the implementation, AI-assisted systems may help:
- Distinguish meaningful UI differences from minor rendering noise
- Recognize changes to visual regions or components
- Handle some types of dynamic content more effectively
- Prioritize differences that are more likely to require review
- Reduce the volume of false-positive results in large test suites
This can be useful for interfaces where strict pixel matching produces excessive noise.
AI does not remove the need for test design or human review.
A system still needs to know which states to test, which environments matter, which changes are acceptable, and when a new baseline should be approved.
There is also a tradeoff.
A highly sensitive comparison method may produce more noise but catch tiny differences. A more tolerant AI-assisted approach may make review easier but needs to be configured so that important visual defects are not overlooked.
The goal is not maximum sensitivity. It is useful sensitivity.
Also read – What is System Testing: A Comprehensive Guide
How to Choose a Visual Regression Testing Tool
The best visual regression testing tool is not necessarily the one with the longest feature list.
It is the one that fits your application's architecture, testing stack, release process, and visual-risk profile.
Consider the following factors.
1. Comparison method
Determine how the tool identifies differences.
Does it support:
- Pixel comparison?
- Structural or layout comparison?
- Region-based comparison?
- Configurable thresholds?
- AI-assisted comparison?
The right choice depends on how stable your UI is and how much rendering variation you expect.
2. Browser and device coverage
Check whether you can run tests in the environments your application supports.
For web applications, consider browser and viewport coverage.
For mobile applications, consider whether testing needs to occur on simulators, emulators, or real devices.
3. Component and page testing
A design-system team may prioritize isolated component testing.
An application QA team may care more about full-page screens and end-to-end user journeys.
Choose a tool that matches the level at which you expect to create most tests.
4. Dynamic-content controls
Look for ways to stabilize or exclude changing regions.
Useful capabilities include:
- Element masking
- Custom styles during capture
- Mock data support
- Region exclusions
- Animation controls
5. Baseline management
Baselines are part of the testing process, not merely screenshots stored in a folder.
Evaluate how easily teams can:
- Review changes
- Approve new baselines
- Reject regressions
- Track baseline history
- Manage different environments
6. CI/CD integration
If visual testing should run on every pull request or build, make sure the tool works naturally with your existing CI/CD workflow.
7. Debugging experience
A useful result should make the difference easy to understand.
Side-by-side views, overlays, diff images, affected-region highlighting, and test metadata can all reduce investigation time.
8. Existing technical stack
A team already using a particular automation framework may not need an entirely separate testing system.
In some cases, adding screenshot assertions or an image-comparison library to an existing automation stack may be enough.
9. Scale
Consider how the approach behaves when your test suite grows from 20 screenshots to 2,000.
Execution time, parallelization, baseline management, storage, and review effort become increasingly important as coverage expands.
Also read - A Detailed Guide to Chrome Remote Debugging
Visual Regression Testing Tools Compared
There are several ways to build visual regression testing into an existing development stack. The tools below illustrate different approaches without requiring every team to adopt the same architecture.
Playwright includes native screenshot comparison through toHaveScreenshot() and supports settings such as maximum differing pixels and styles for hiding volatile content during captures.
BackstopJS is designed specifically for screenshot-based web visual regression testing. It can define different viewports and scenarios, compare current screenshots against references, generate visual reports, and approve new references after review.
The jest-image-snapshot matcher adds baseline image comparisons to Jest and allows teams to configure comparison thresholds and update approved snapshots.
There is no universal winner. If a team already has a mature automation stack, extending that workflow may be simpler than introducing another platform. Teams with large visual-test requirements may instead prefer tooling built specifically around visual review and baseline management.
Also read - 22 Best Regression Testing Tools (Top Picks Compared)
Best Practices for Visual Regression Testing
1. Start with high-value areas
Do not begin by screenshotting the whole product.
Start with:
- Shared components
- Navigation
- Login
- Checkout
- Forms
- Dashboards
- Major responsive layouts
- High-traffic screens
Expand coverage when the existing suite is stable.
2. Treat baselines as reviewed test assets
A baseline defines what the test considers correct.
Do not update baselines just to make a failing build turn green.
Review the visual difference first.
3. Keep test environments consistent
Use consistent browser versions, operating systems, viewport dimensions, fonts, data, and application states wherever possible.
The more environmental variation you introduce, the harder it becomes to determine whether a screenshot difference is a product regression.
4. Control dynamic UI content
Mask, mock, freeze, or stabilize content that changes independently of the UI being tested.
This is one of the most effective ways to reduce false positives.
5. Wait for a stable UI state
Do not capture screenshots simply because the page has technically loaded.
Make sure:
- Images are loaded
- Web fonts are ready
- Animations are complete
- Data has rendered
- Skeleton states are gone
- Required components are visible
6. Test representative viewports
Responsive testing should reflect the layouts your application is designed to support.
Testing every possible pixel width is unnecessary.
7. Combine component-level and page-level testing
Component-level tests catch focused regressions early.
Page-level tests validate the complete assembled interface.
Using both provides stronger coverage without forcing every test to capture an entire page.
8. Review detected changes rather than automatically rejecting them
A visual difference is evidence of change, not proof of a bug.
Some changes are deliberate.
A practical workflow lets reviewers classify the result and update the baseline when the new design is correct.
9. Run visual tests early
Finding a regression while a developer is still working on the change is generally easier than finding it during final release validation.
Integrating stable tests into CI helps move feedback closer to the code change that caused it.
10. Use visual tests alongside other testing methods
Visual regression testing does not replace:
- Functional testing
- Accessibility testing
- Performance testing
- API testing
- Unit testing
It answers a different question: whether the rendered interface still matches expectations.
How HeadSpin Approaches Visual Regression Testing
HeadSpin can support visual regression workflows by providing the environments in which web and mobile UI tests are executed.
Teams can run automated tests across real devices and desktop and mobile browsers, including different screen resolutions and browser environments. HeadSpin supports automation frameworks such as Appium and Selenium and can integrate test execution into CI/CD workflows.
This allows teams to incorporate screenshot capture and visual comparison logic into their existing automation workflows while validating UI behavior across the devices and browsers relevant to their applications.
HeadSpin also provides session data, screen recordings, logs, and performance information that can help teams investigate whether an observed problem is limited to visual rendering or is associated with a broader browser, device, network, or application issue.
FAQs
Q1. What causes false positives in visual regression testing?
Ans: False positives can result from browser rendering differences, font anti-aliasing, animations, changing data, timestamps, advertisements, image loading, operating-system differences, or screenshots captured before the interface becomes stable.
Controlling the test environment and dynamic content can significantly reduce unnecessary differences.
Q2. Can visual regression testing be used for mobile applications?
Ans: Yes. Visual regression testing can be applied to mobile application screens as well as web pages.
For mobile testing, teams should consider different screen dimensions, OS versions, device characteristics, themes, orientations, and other environment-specific factors that can affect rendering.
Q3. How often should visual regression tests run?
Ans: There is no single schedule that works for every application.
Stable automated tests can run as part of pull-request or CI workflows, while broader suites may run before releases or at scheduled intervals.
The right frequency depends on how frequently the interface changes, the importance of the affected screens, and the cost of reviewing results.
Q4. Does visual regression testing require AI?
Ans: No.
Visual regression testing can use manual comparisons, pixel-based image comparison, structural approaches, or other techniques.
AI-assisted methods are one option. They can help distinguish meaningful differences from some types of rendering noise, but they are not required for visual regression testing.
Q5. Is visual regression testing the same as screenshot testing?
Ans: The terms are closely related but are not always identical.
Screenshot testing generally refers to capturing and comparing screenshots. Visual regression testing is the broader testing objective of determining whether a software change introduced an unintended visual regression.
Screenshot comparison is one of the most common ways to accomplish that objective.






-1280X720-Final-2.jpg)