


.png)


.png)


AI-Powered Key Takeaways


What is Tosca?
Tricentis’ Tosca is a Continuous Testing platform that accelerates testing to keep pace with Agile and DevOps. With the industry’s most innovative functional testing technologies, Tricentis Tosca breaks through the barriers experienced with conventional testing tools. Using Tricentis Tosca, enterprise teams achieve unprecedented 90%+ test automation rates—enabling them to deliver the fast and continuous feedback required for Agile and DevOps.
Read: A Complete Guide to Continuous Testing
Tricentis Tosca provides a single, codeless, AI-powered platform that can test virtually everything from mobile, web, PDF, Java, Citrix and mainframes to critical enterprise applications like SAP, Salesforce, and ServiceNow. With Tosca’s unique model-based test automation technology, you can easily create and maintain automated end-to-end tests and ensure your tests remain resilient, even in rapidly changing IT environments.
What Are The Benefits of Using Tosca?
Tosca is an industry leading automation tool with a number of benefits, such as:
- Build codeless, resilient automated tests
- Optimize the risk coverage with less test effort
- Access and provision reliable test data
- Simulate test environments
- Eliminate data integrity issues
- Test smarter with AI-powered test automation
- Automate more with intuitive recording
- Shift left with API testing
- Boost distributed test execution
How Do I Get Started With Tosca?
It’s easy to get started with Tricentis Tosca. Just visit their website page for a Free Trial here and fill out the form. You’ll get an email to download the Tosca installation file, for example, for version 15.2 the filename is: Tricentis_Tosca_15.2_LTS.zip.
Unzip the file and double click on the install file:

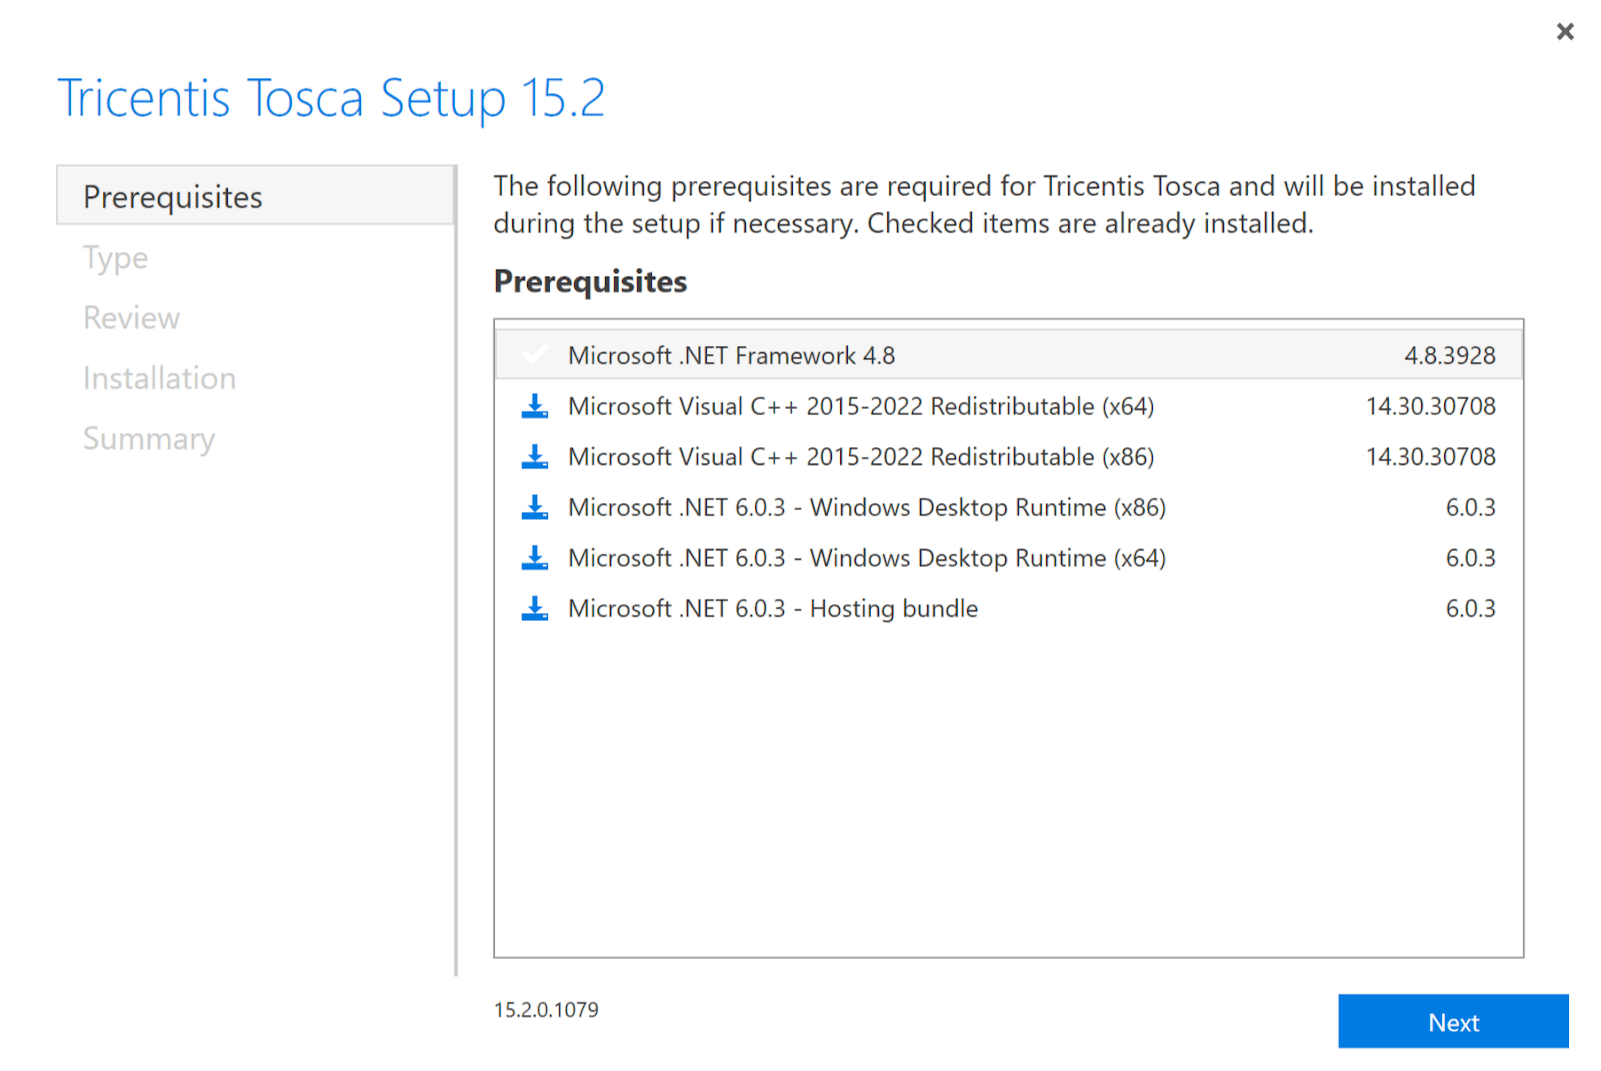
This will start the installation process and you will be prompted for the installation location and Tosca components to install. The following are some screens that you will see during the installation.
Tosca will install these prerequisites if they are not already installed on your system.
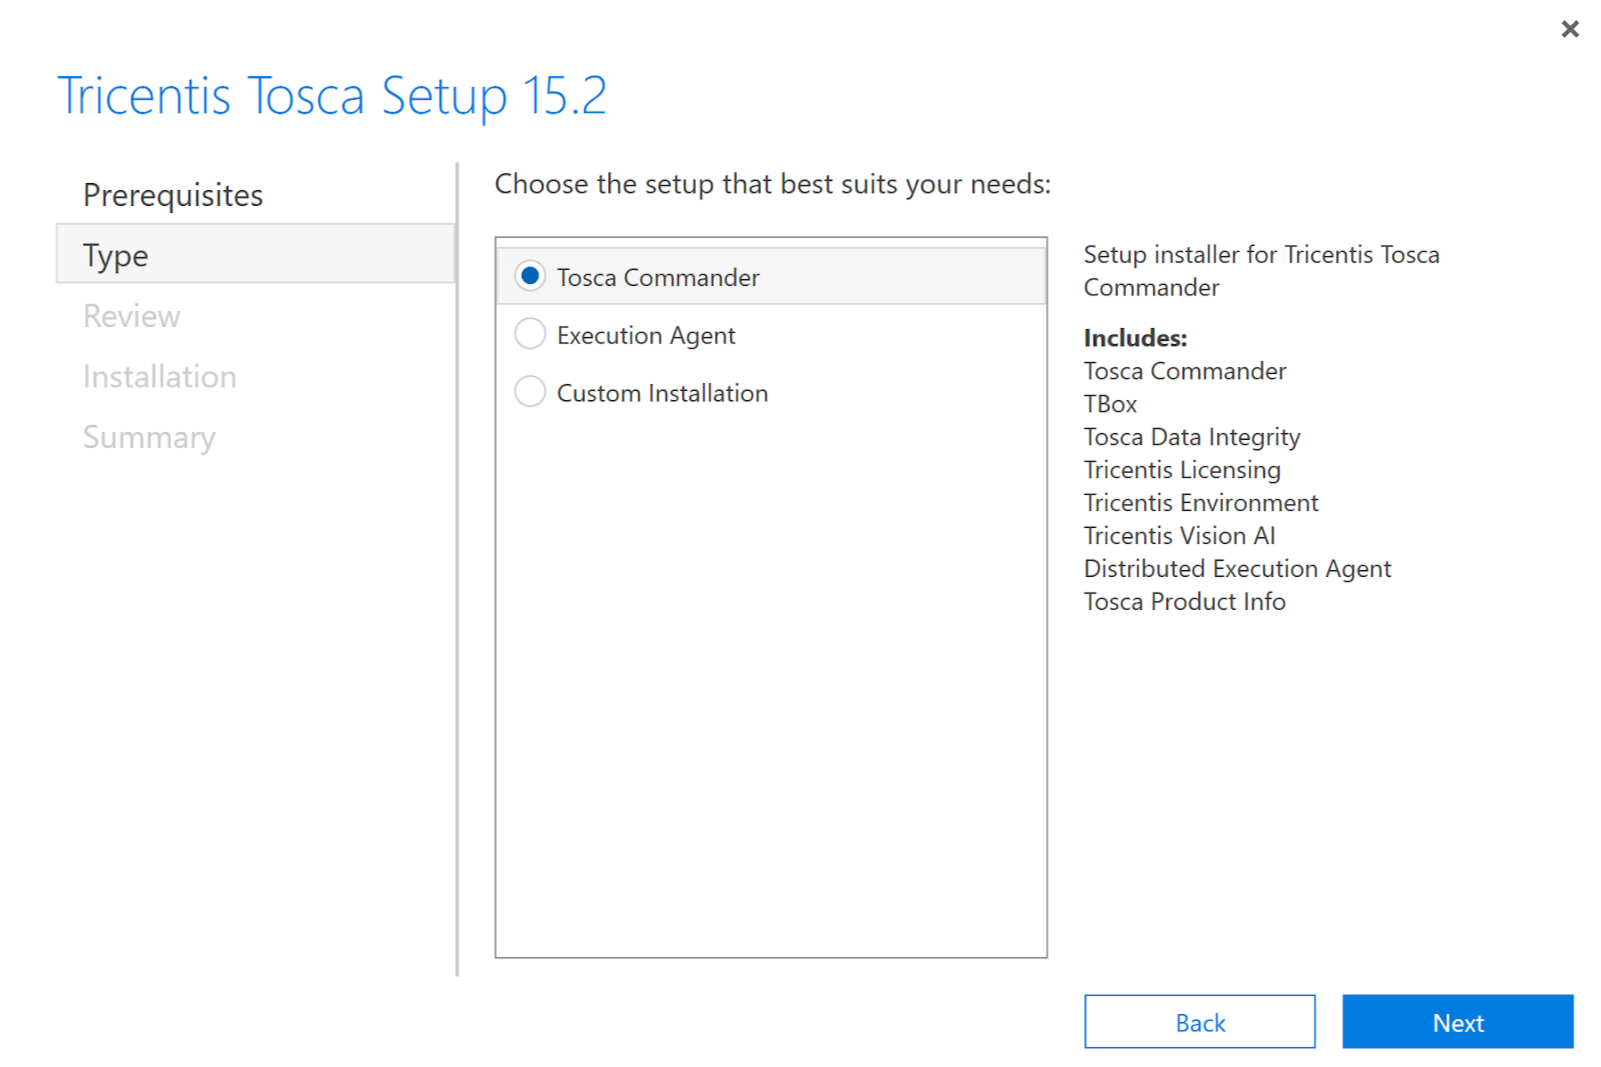
Select your components to install:
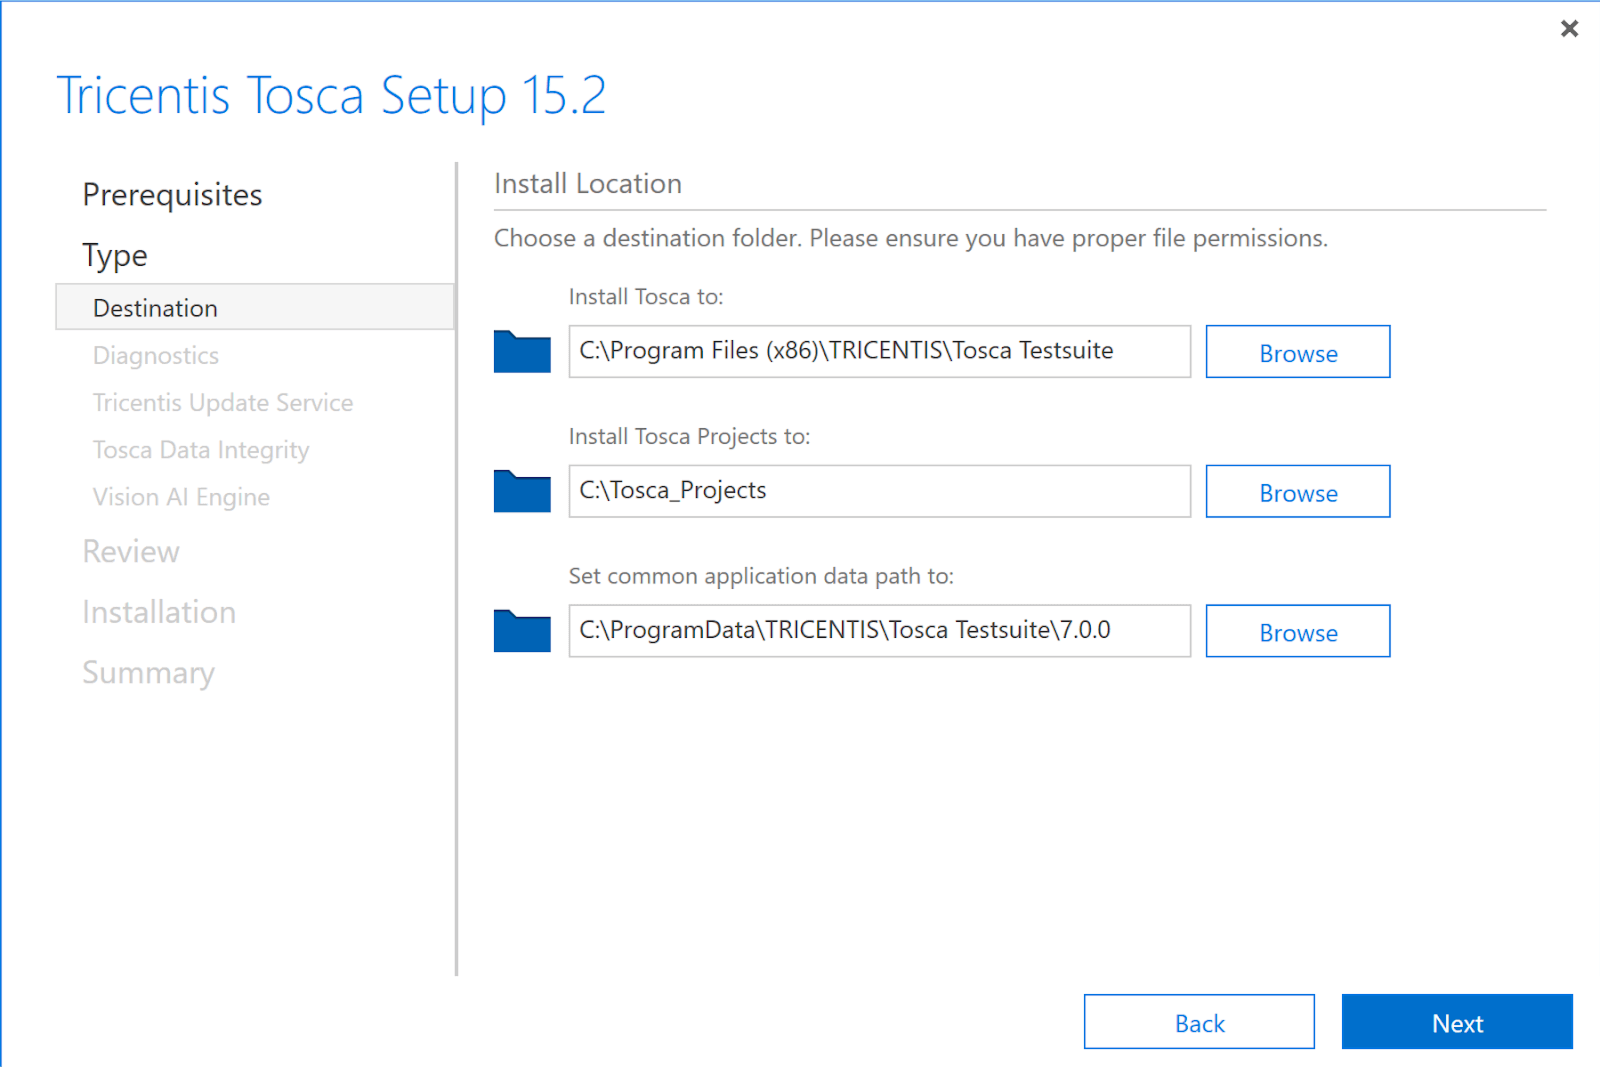
Select your installation directory:
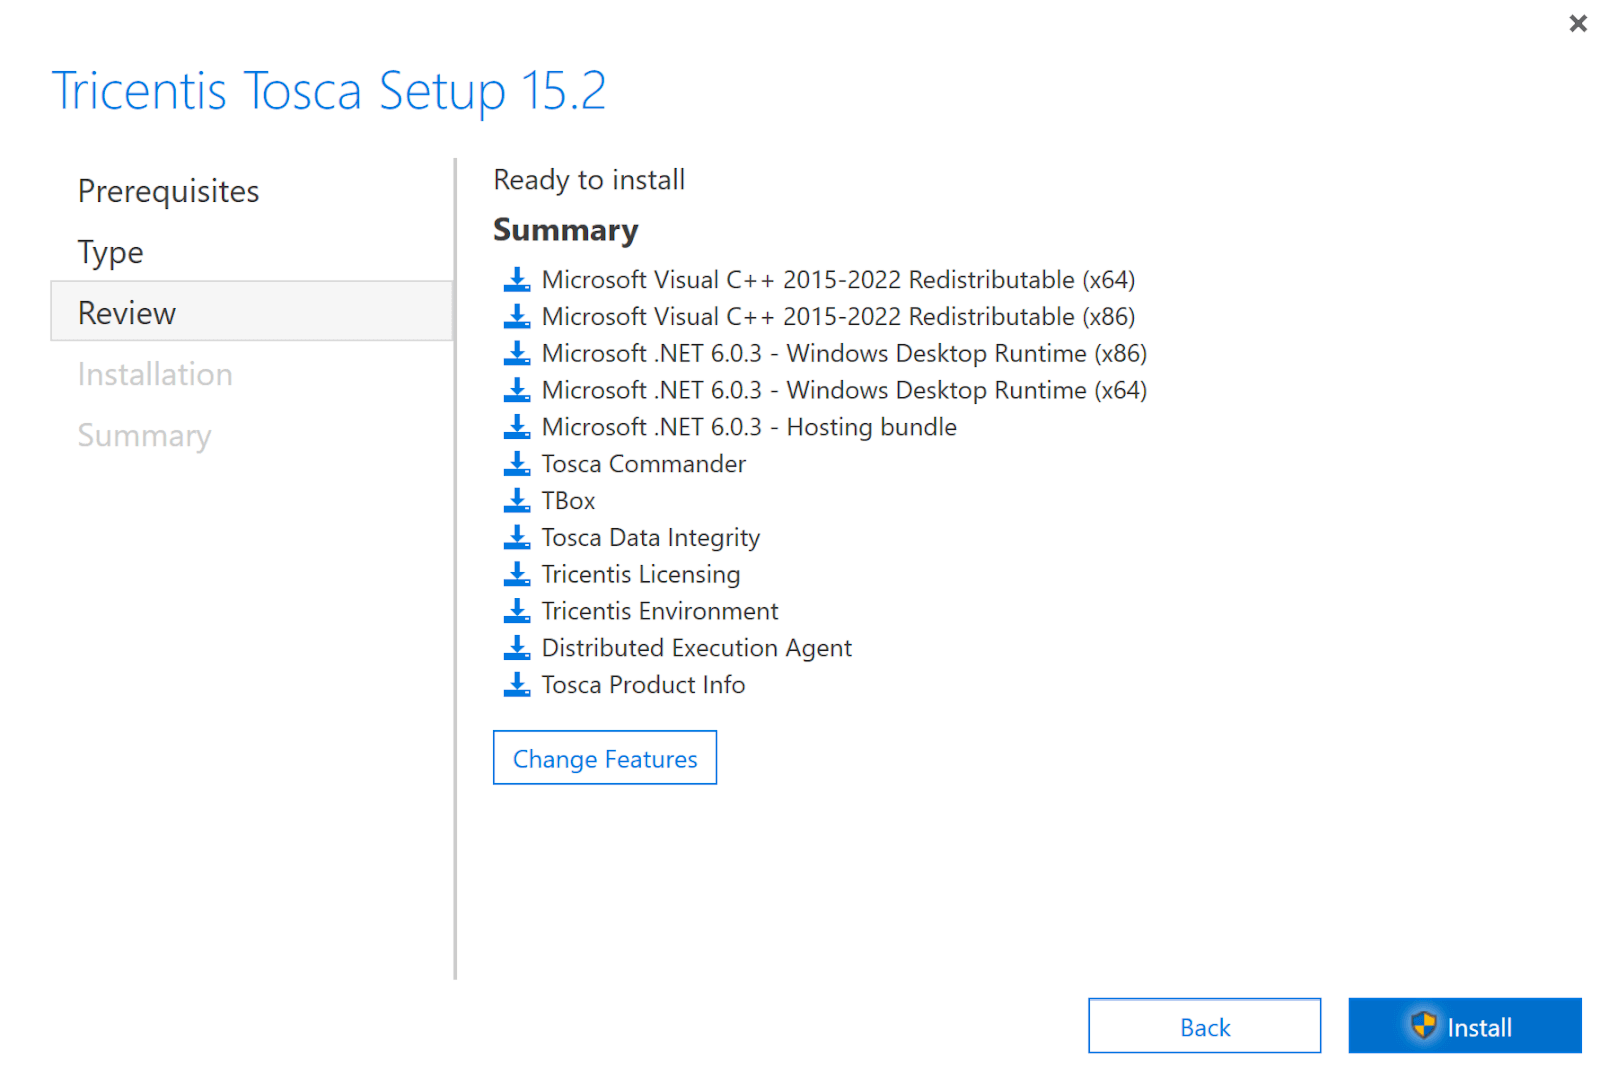
Click through the rest of the prompts until you get to this screen and then click on Install.
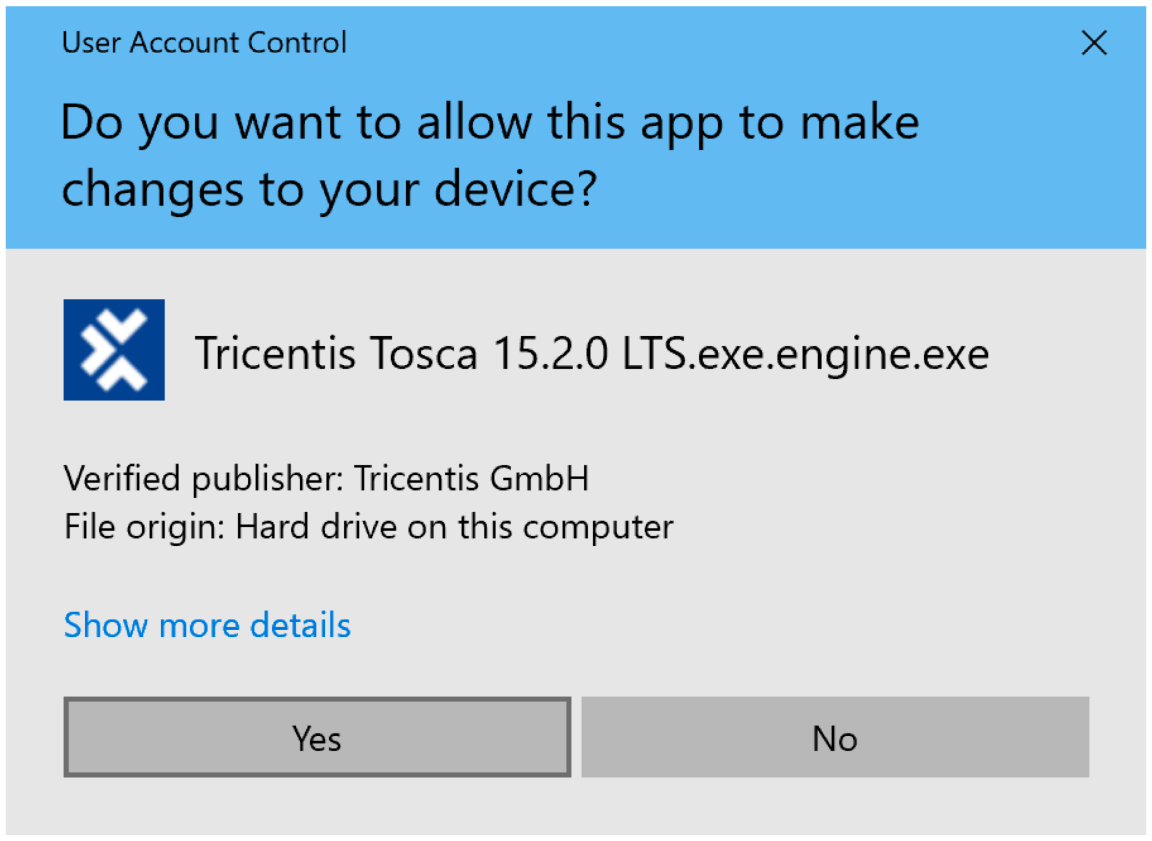
Click on Yes to start the installation
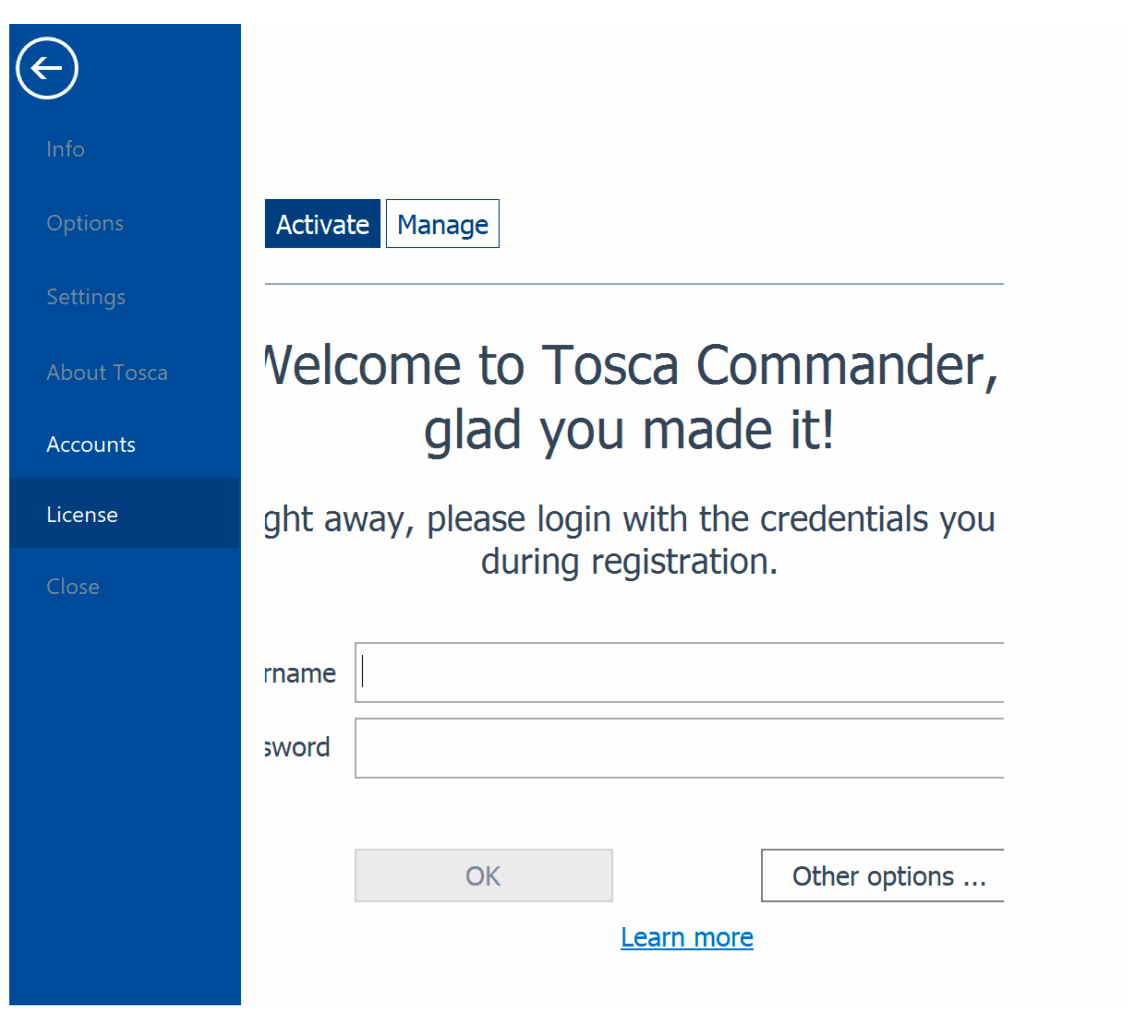
When the installation is complete, open your Start Menu and click on Tosca Commander:

You will then be prompted to enter your user information which you used to set up your account. Once you enter the information, you’ll be ready to start!
Question: Do I need to install anything special/specific for HeadSpin?
Answer: No, testing on the HeadSpin platform is supported by the standard installation of Tosca with no special modules or libraries required. You don’t even have to install Appium locally.
Why Would I Want to Use the HeadSpin Platform for Automation Testing with Tosca?
There are a number of reasons why you would want to utilize the Headspin Platform for your Tosca automation tests:
- Diversity of available devices and locations around the world
- No limit on how many tests can run concurrently
- Utilize the comprehensive KPI data capture, including all network traffic to the device
- Use the Regression Analysis feature of Headspin to conduct in-depth session analysis and comparison
- Ease of reporting with Headspin’s Dashboard capabilities
How Do I Create a Recording on a HeadSpin Device With Tosca?
It is very easy to record your interactions with a mobile application or mobile web browser using Tosca.
Click on Modules->Scan->Mobile
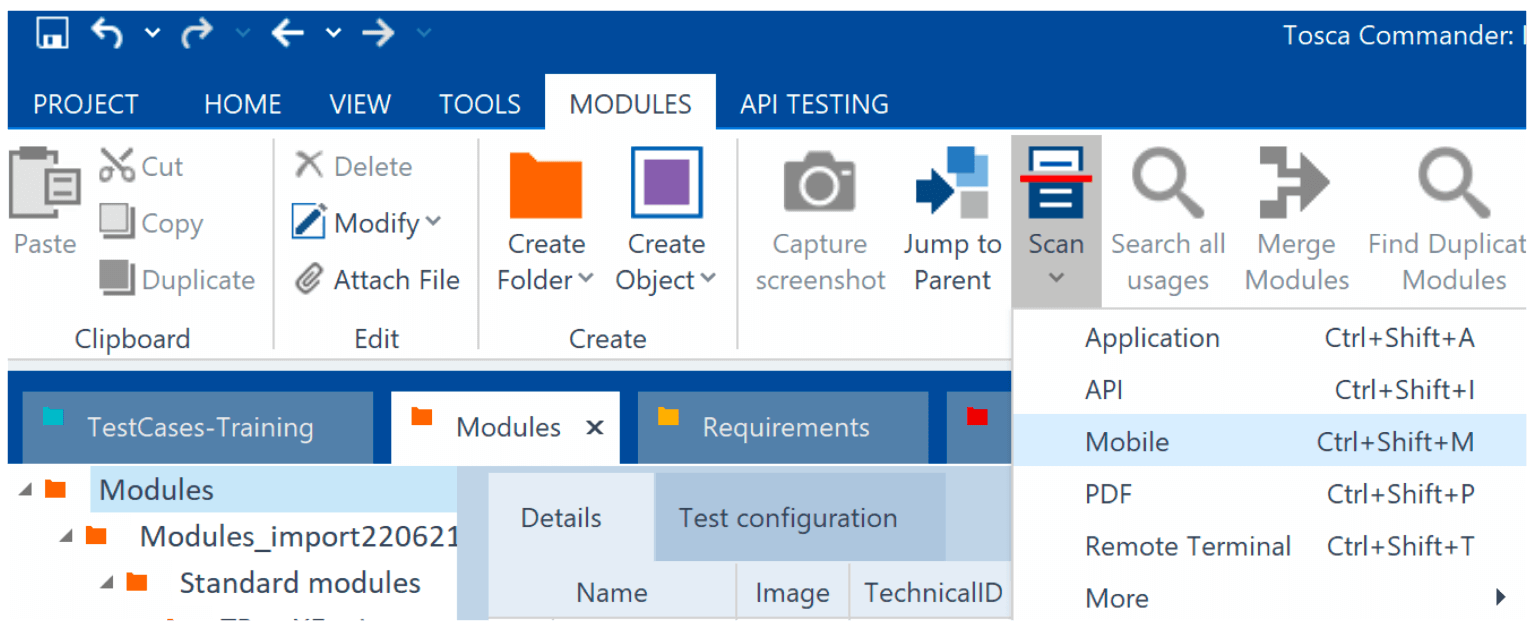
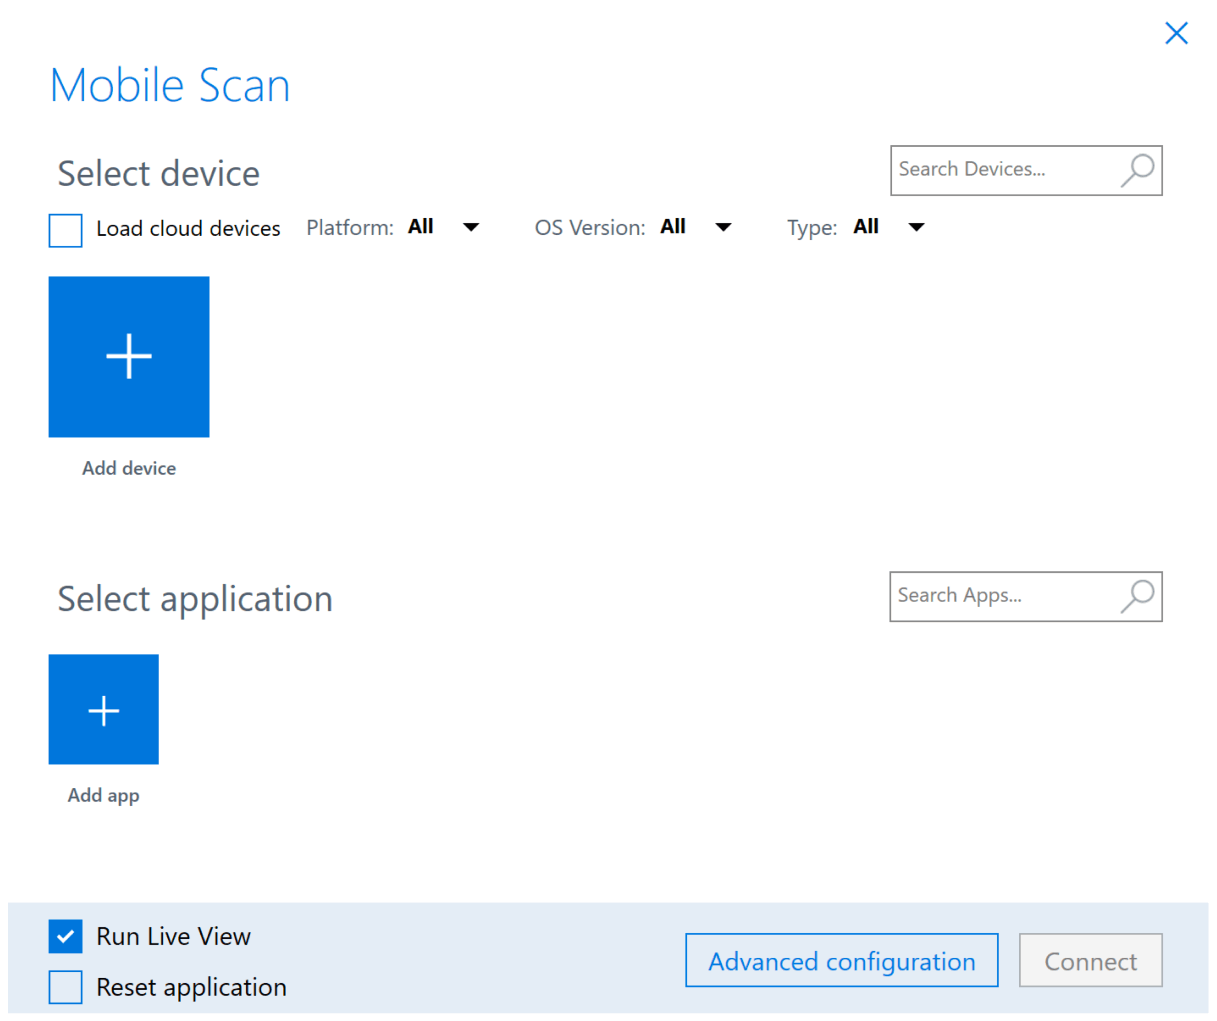
This will start the XScan engine and bring up the Mobile Scan window. It’s a 2-step process to get started. You will need to define the device(s) and the application(s) that you want to use for recording.
Add a Device
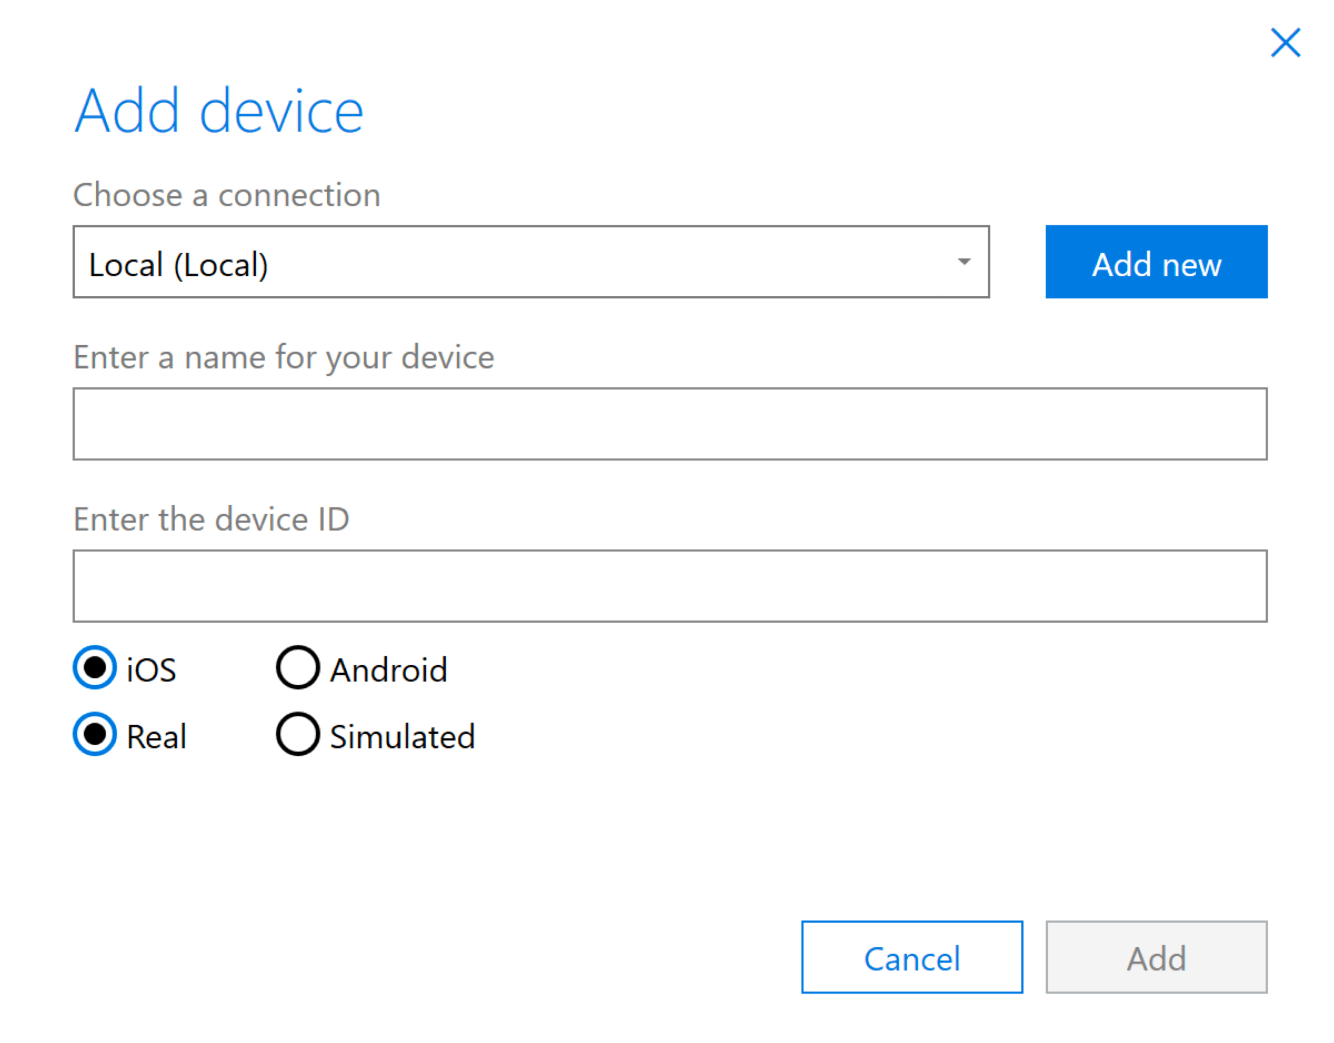
To define the device, simply click on the Add Device plus sign.
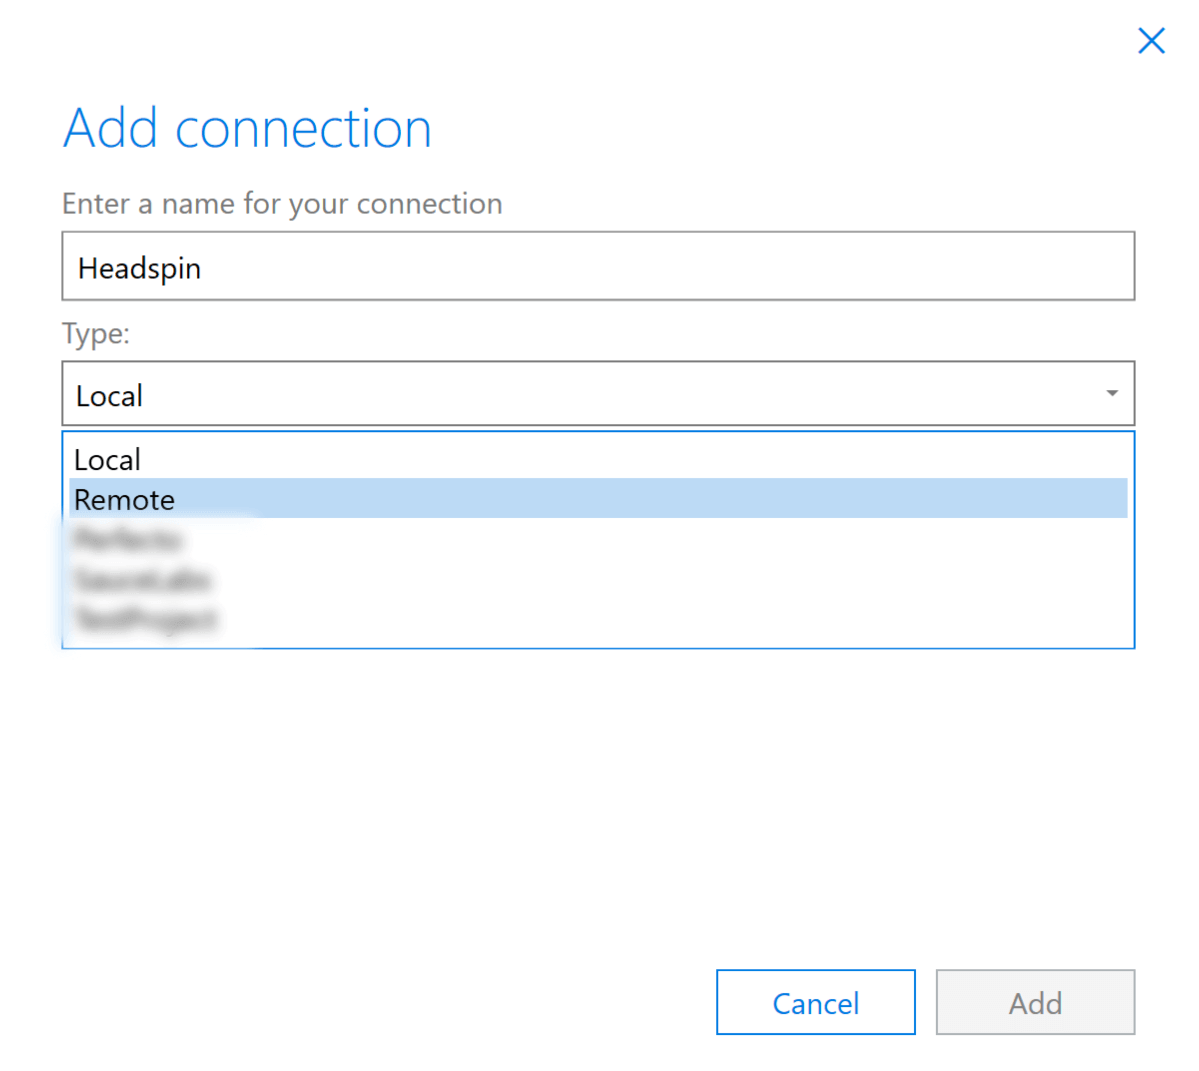
In the Add device window, click Add New to create a new connection.
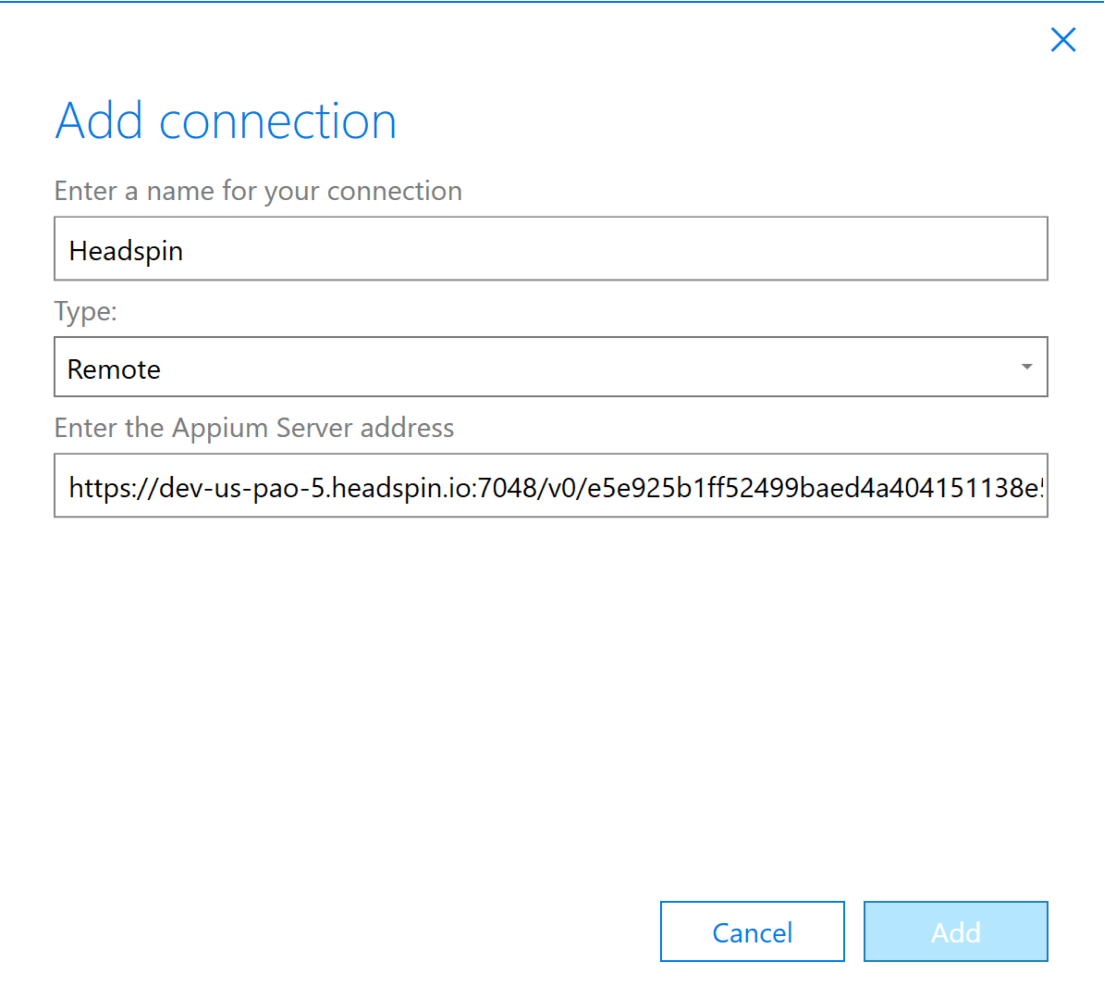
Enter a name for the connection; this is free-form so choose a meaningful name. Then click on the dropdown arrow for the Type and choose Remote.
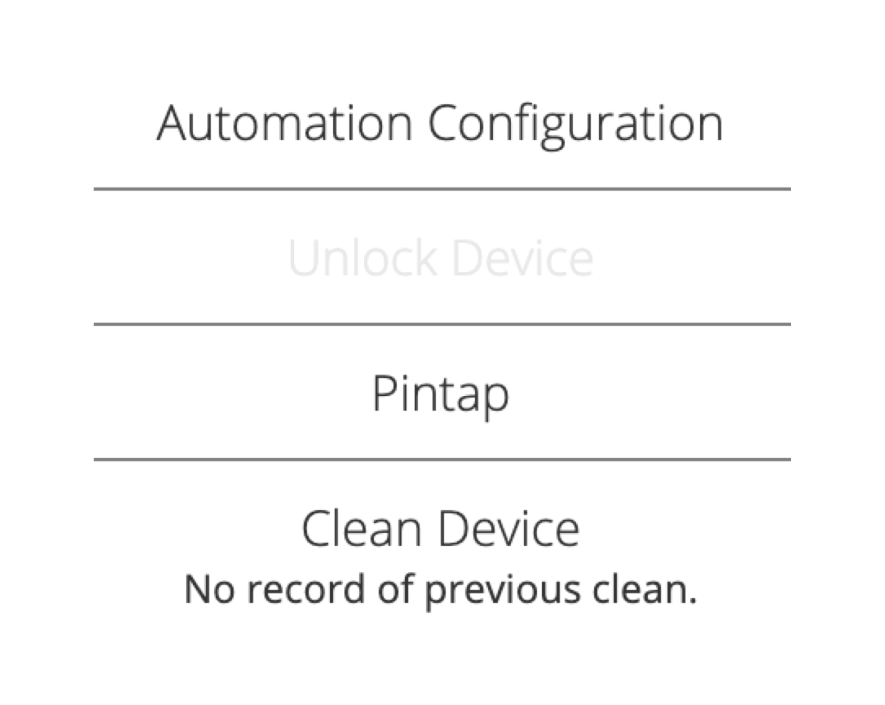
Now you will need to get the Appium Server address for the device. To do so, go to the HeadSpin platform UI and, for the device that you want to use, click on the 3 vertical dots to the far right:

In the pop-up, select Automation Configuration.
Copy the Web Driver URL value by either manually highlighting the value and copying it to the clipboard, or click on the Click to copy icon.

Paste this value into the the Enter the Appium Server address field and click on Add:
Add an Application
Next, you will need to specify the application for recording. To do so, click on the Add app plus sign.
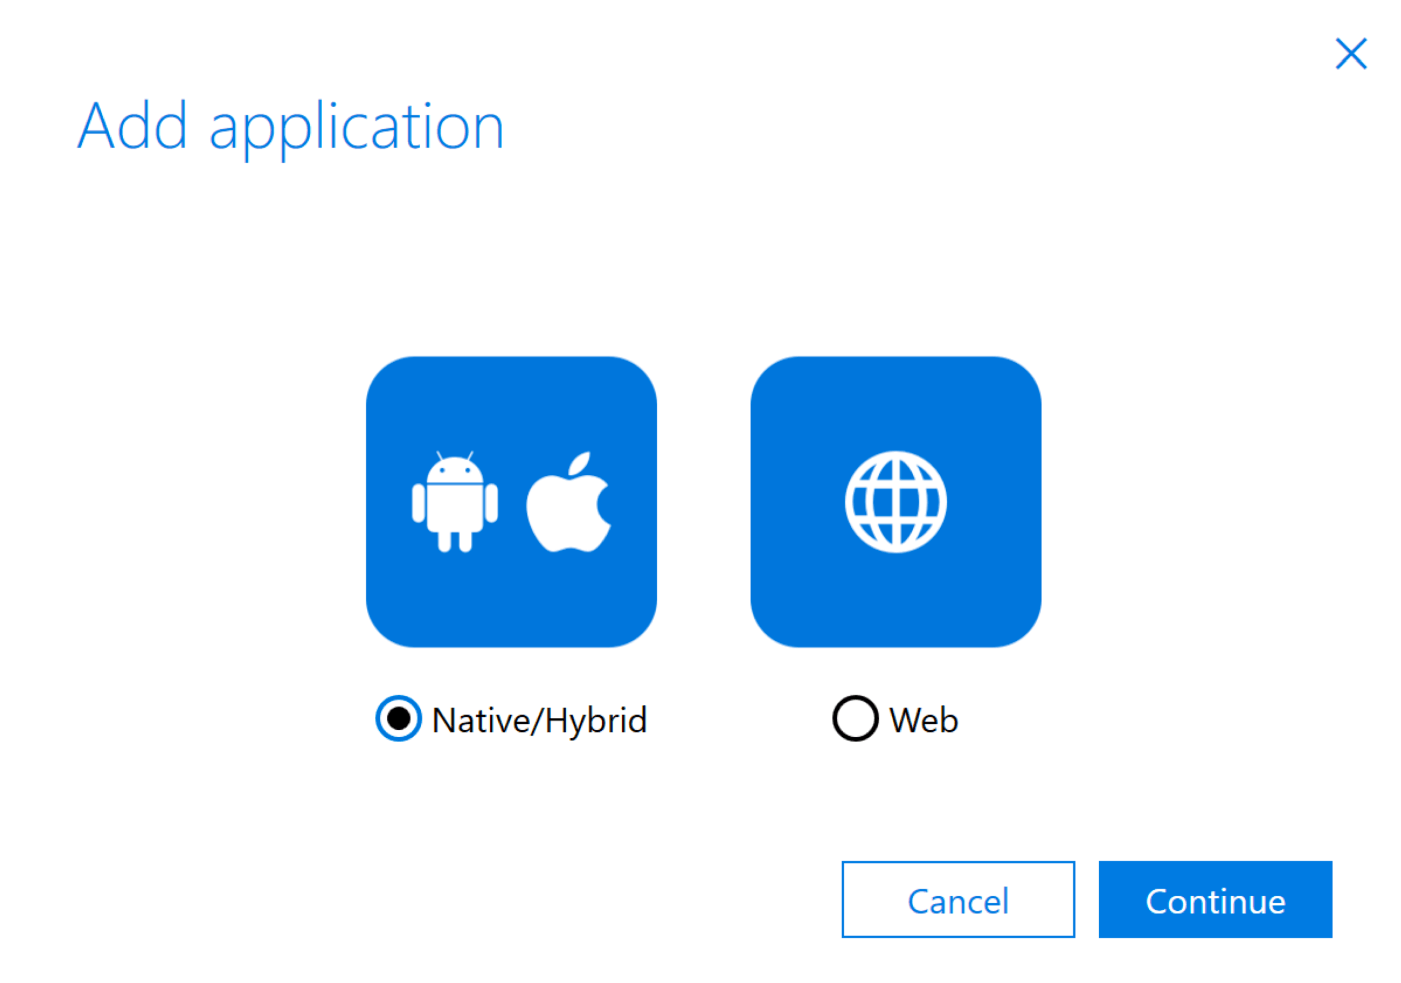
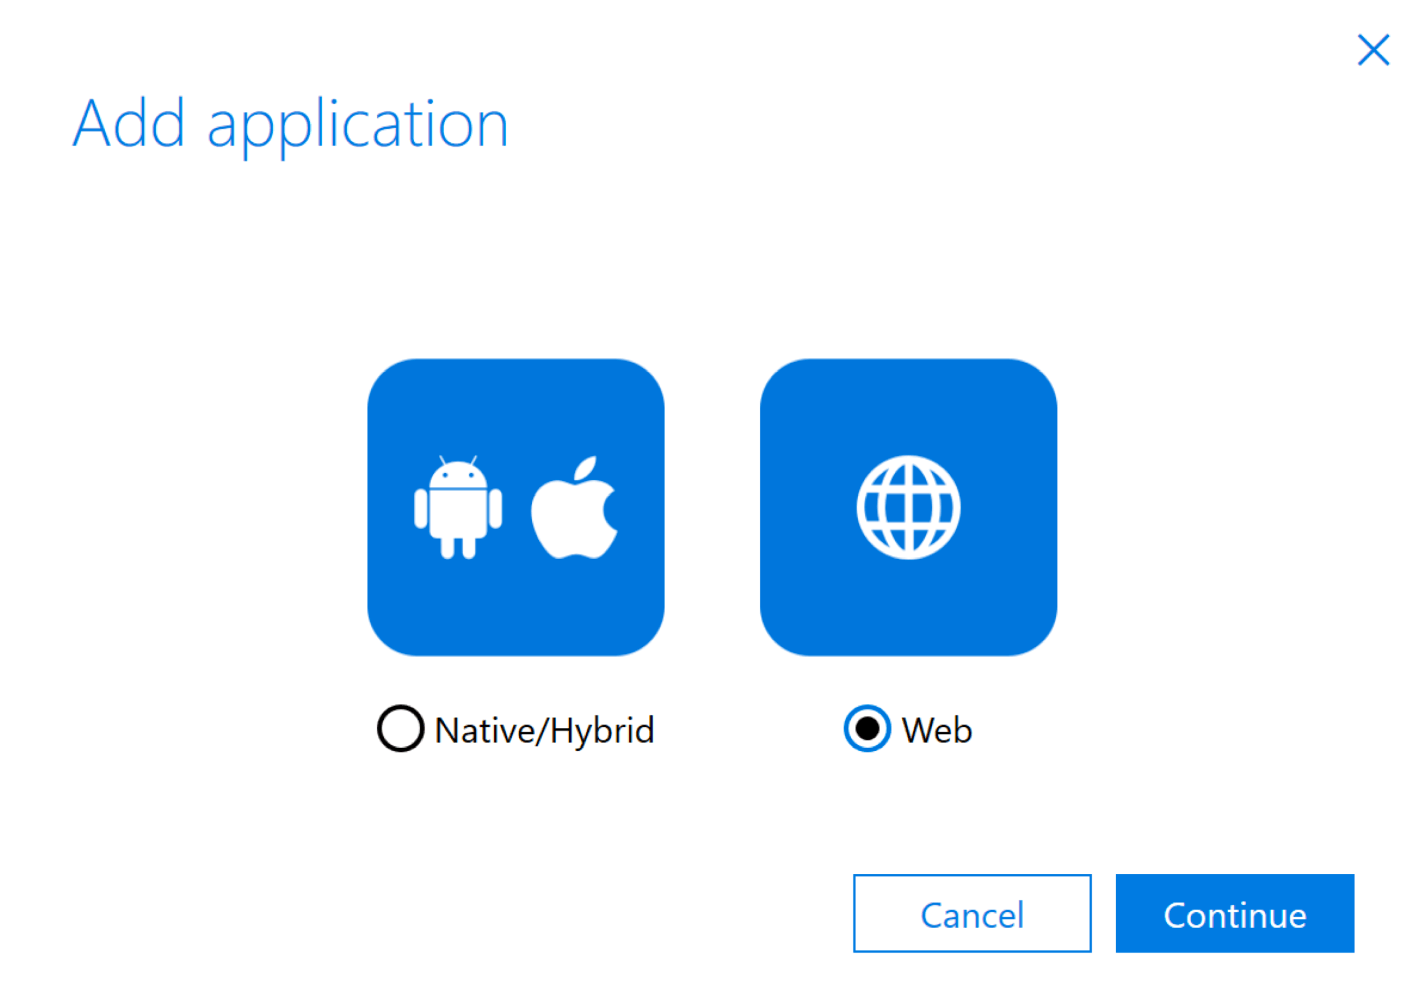
In the App application window, select the type of application to add, either Native/Hybrid or Web and click Continue.
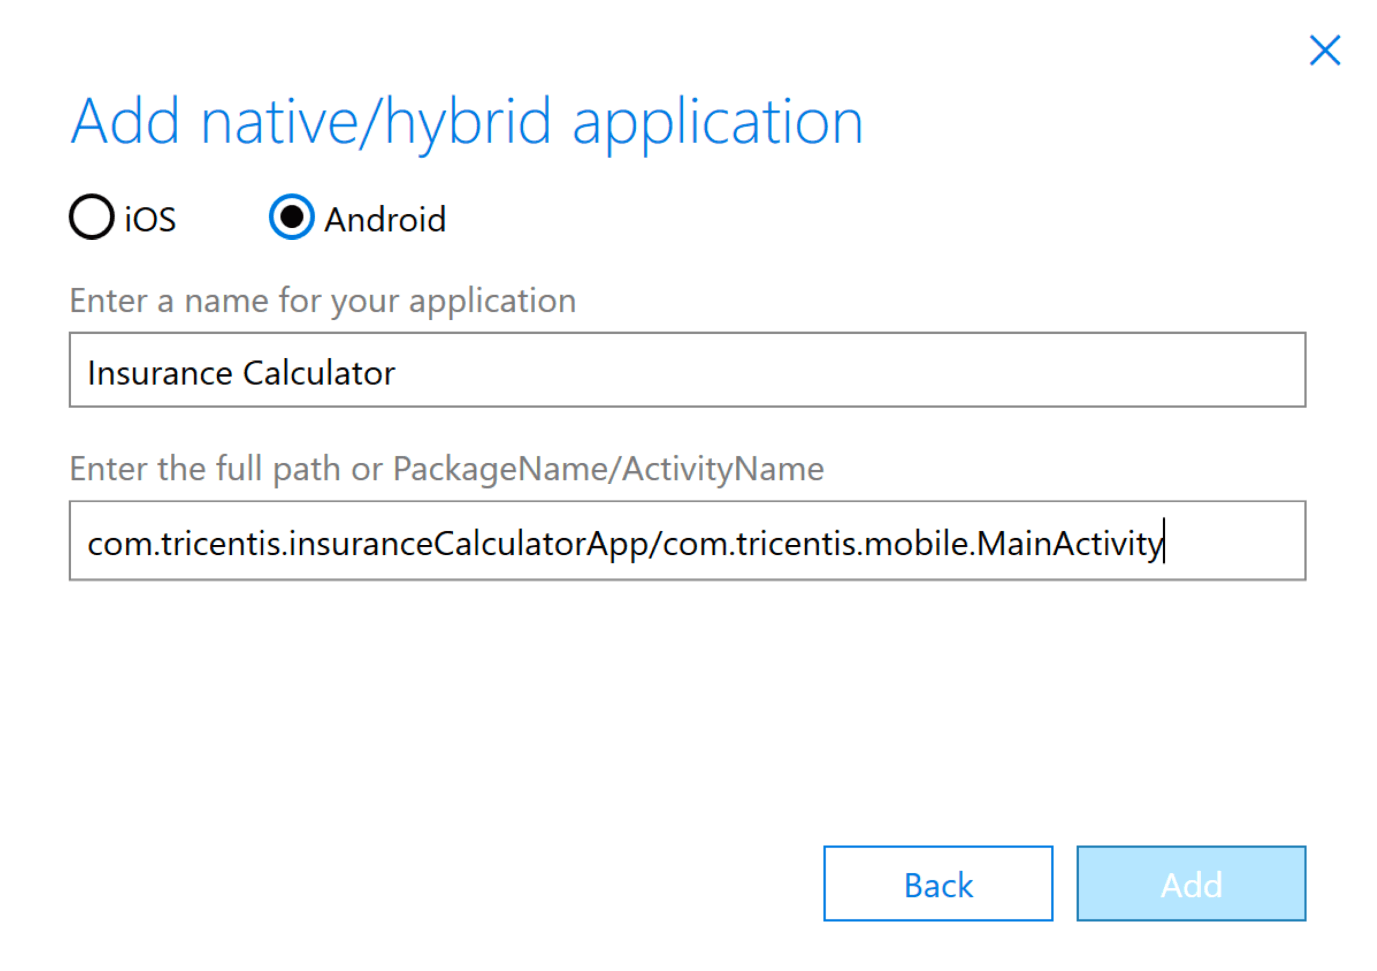
In the Add native/hybrid application window, select either iOS or Android and enter the name for your application, and then enter the application identifier: bundleID for iOS, AppPackage/AppActivity for Android. Click Add.
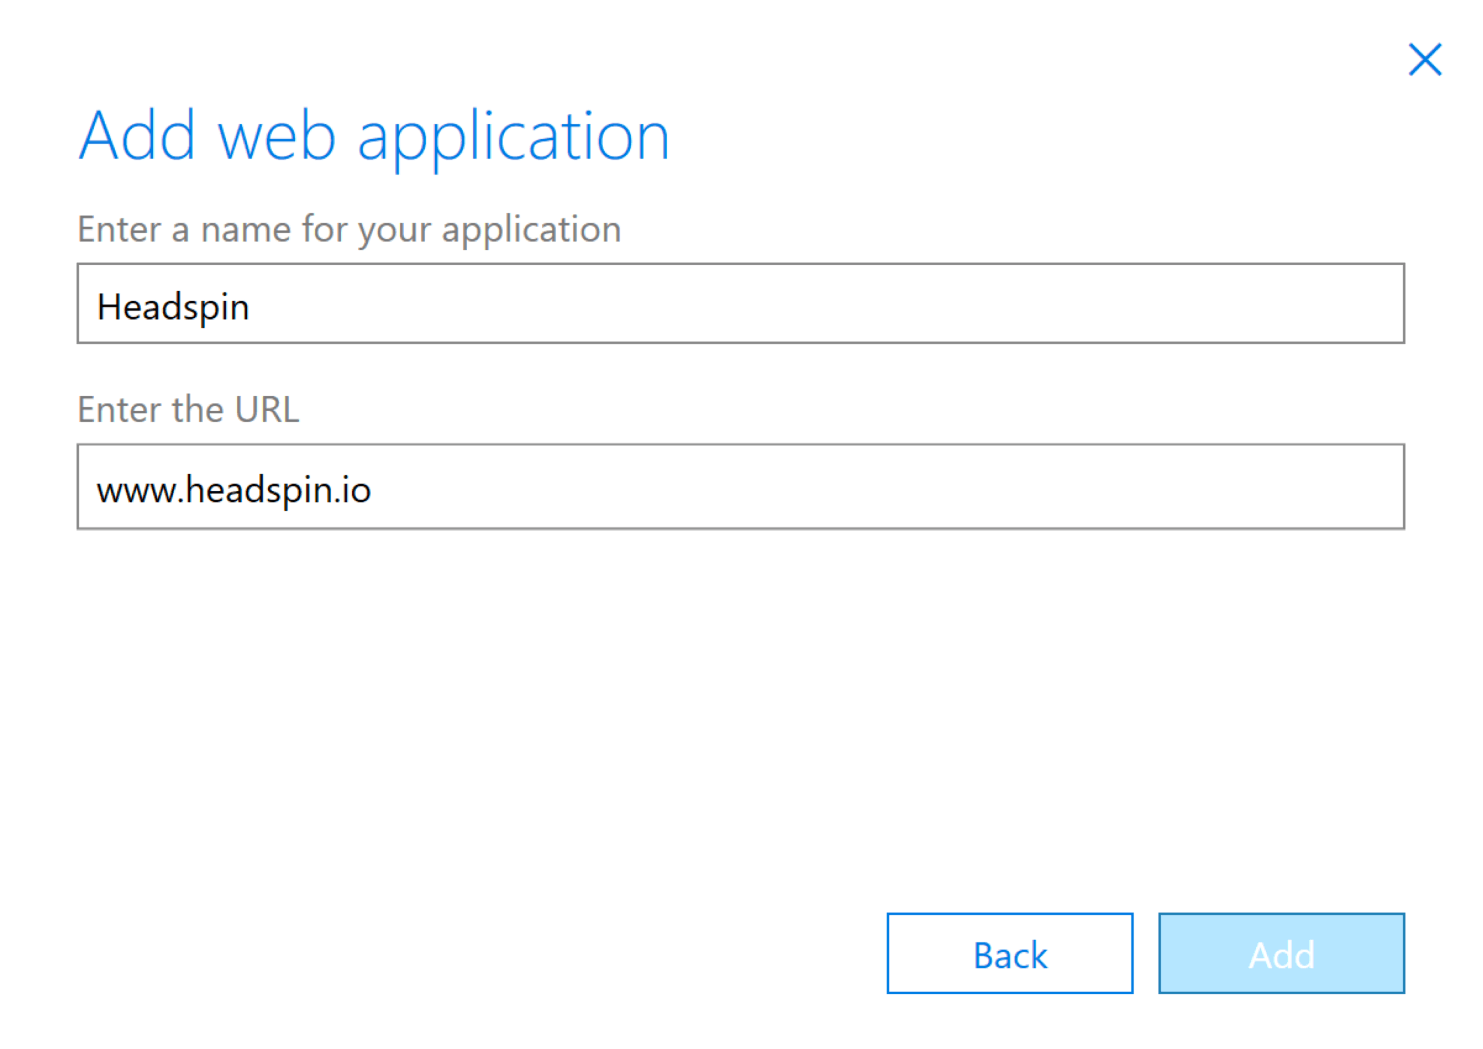
For a mobile web test recording, simply select Web and click Continue
Then enter the URL and click Add:
Start Scanning Your Application
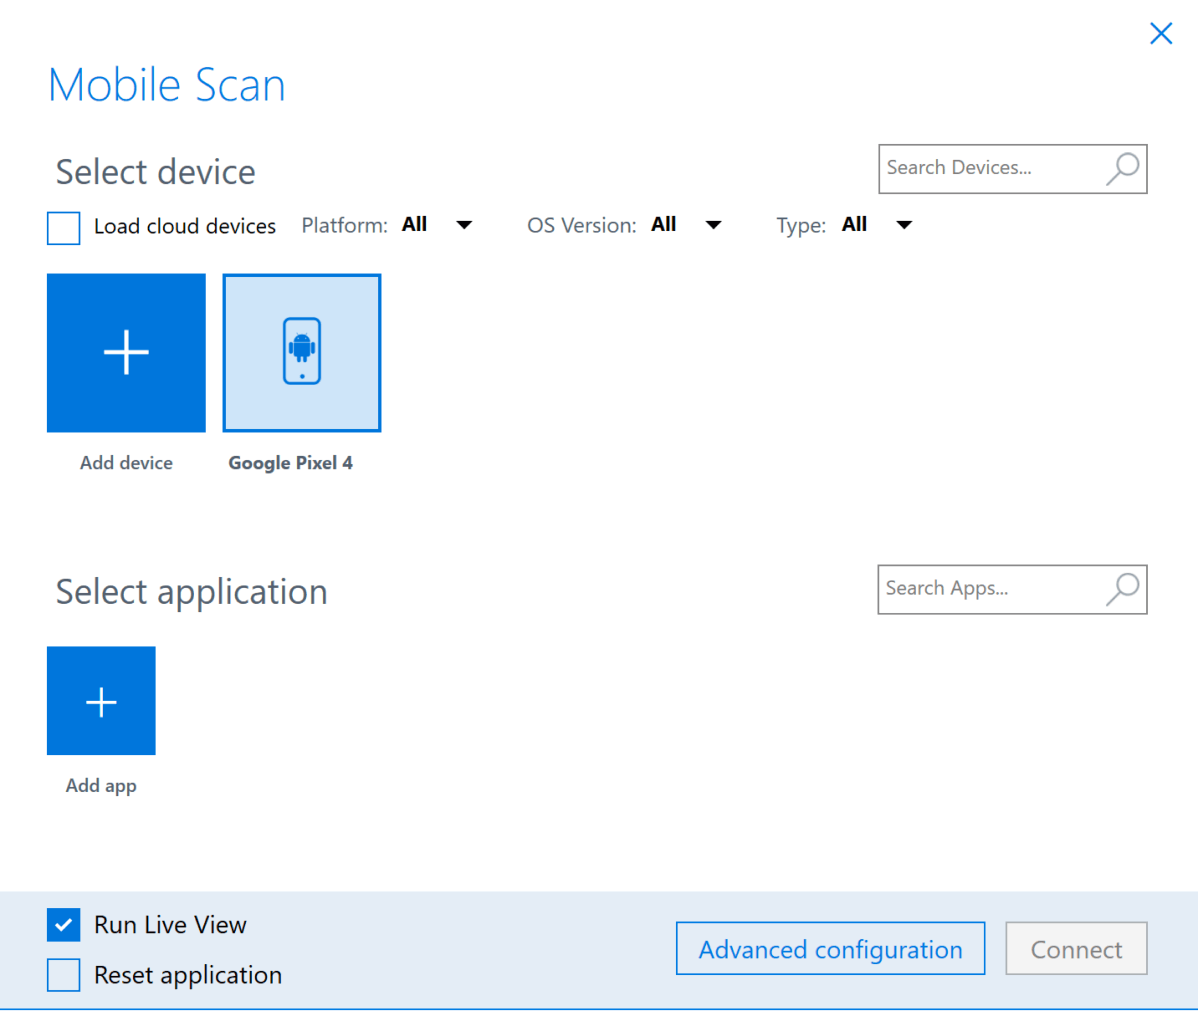
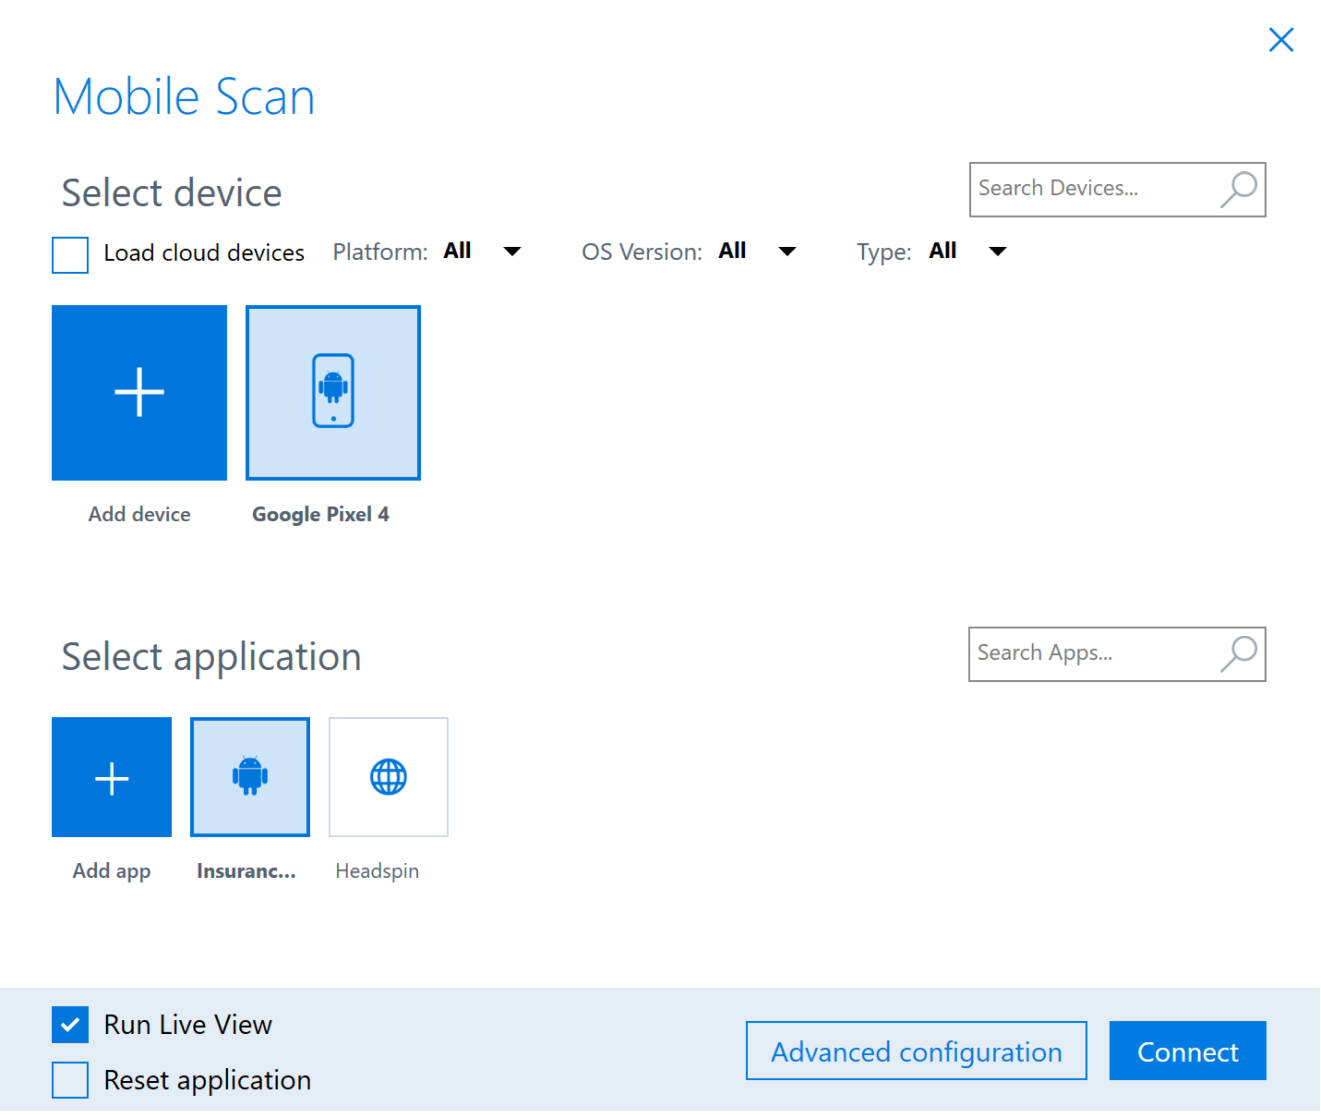
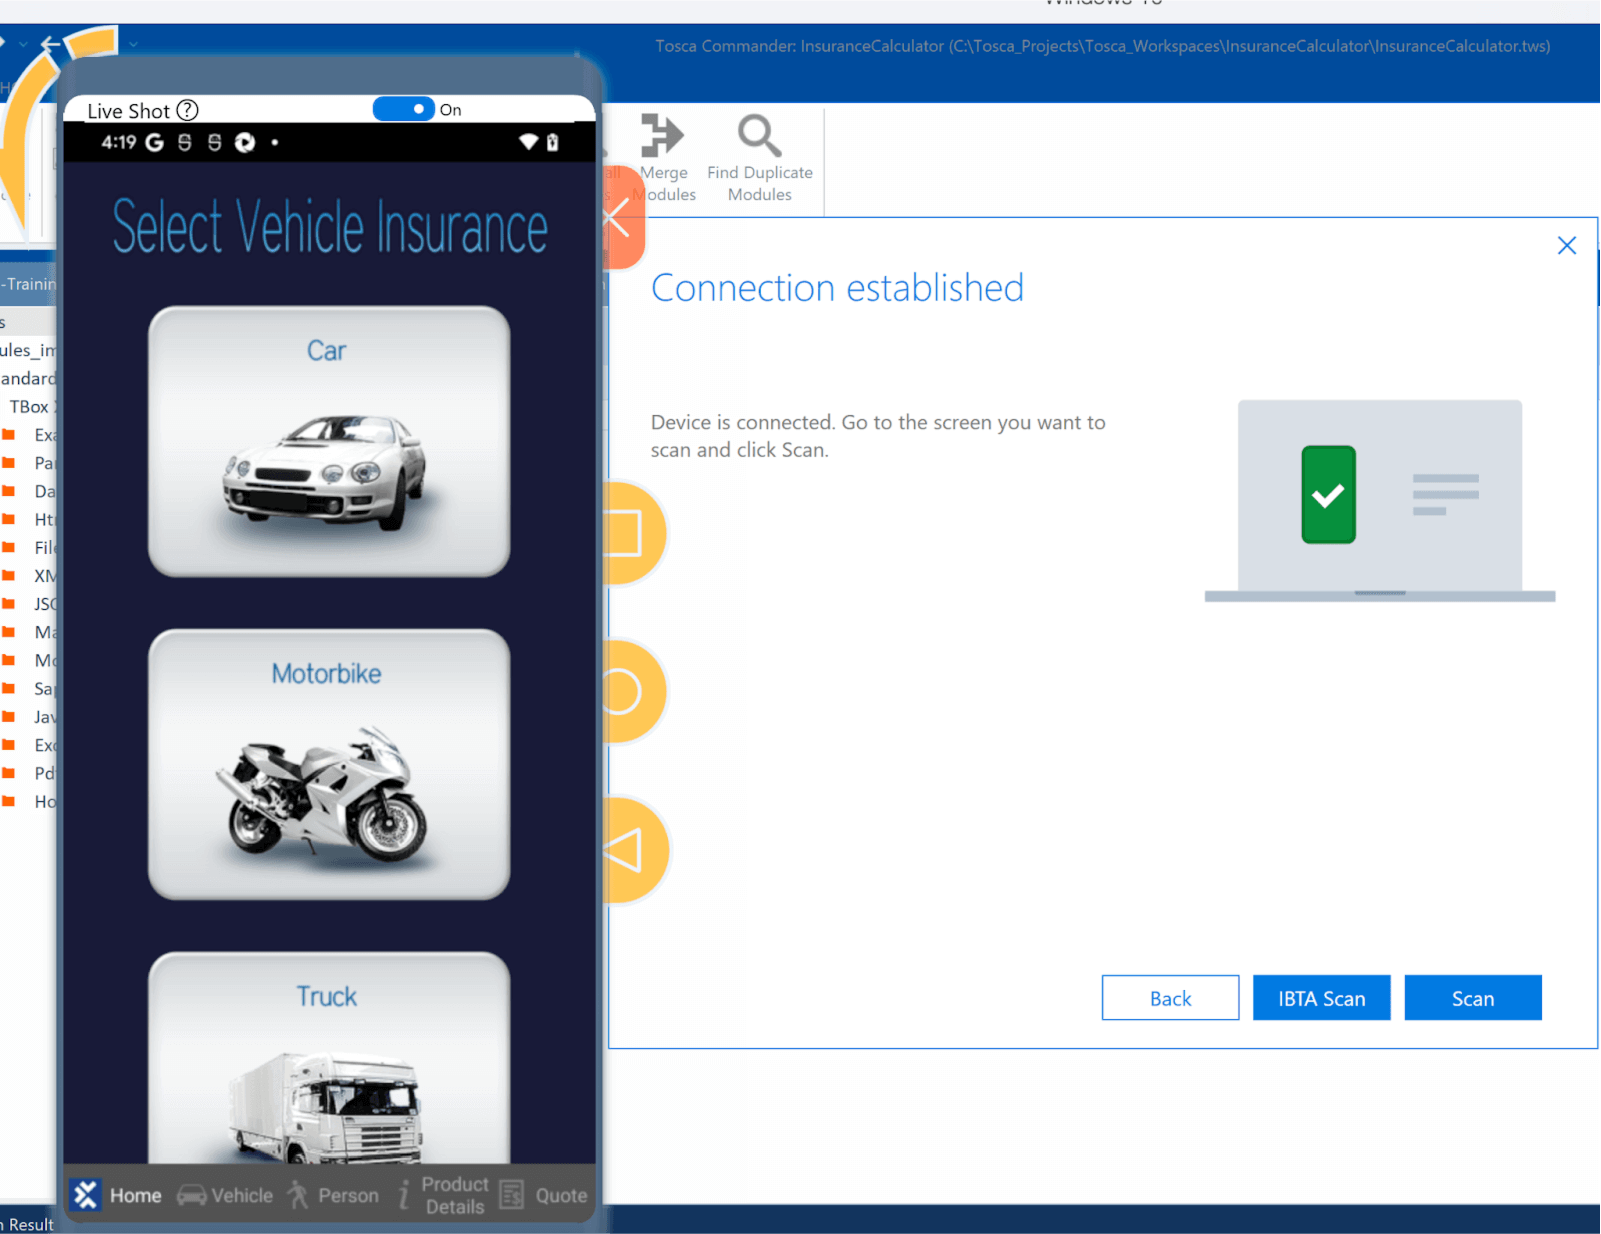
To start the scanning process, in the Mobile Scan window, select the device and application and click on Connect. To interact with the device, ensure that Run Live View is selected. You can select Reset application if you want the application to be fully reset upon starting.
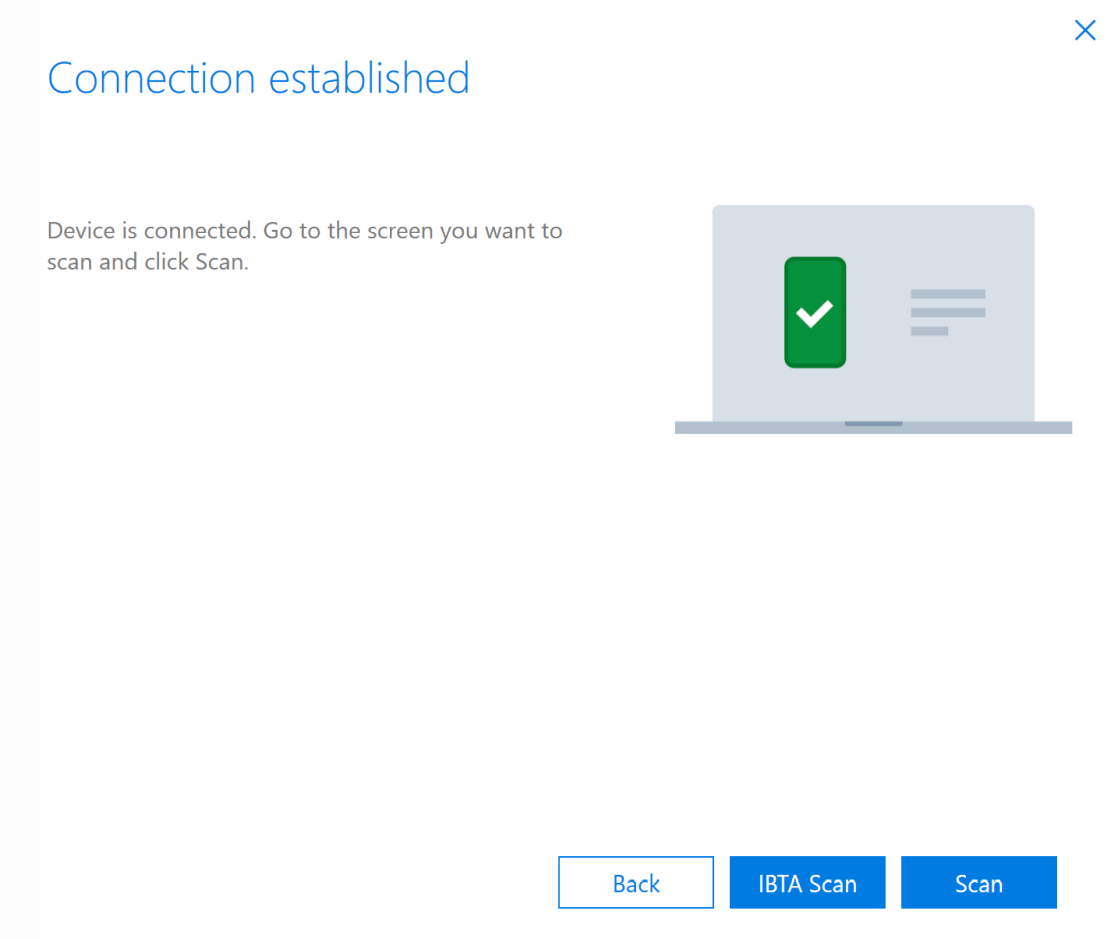
Once the Connection established window appears, you can click on Scan to start the scanning process.
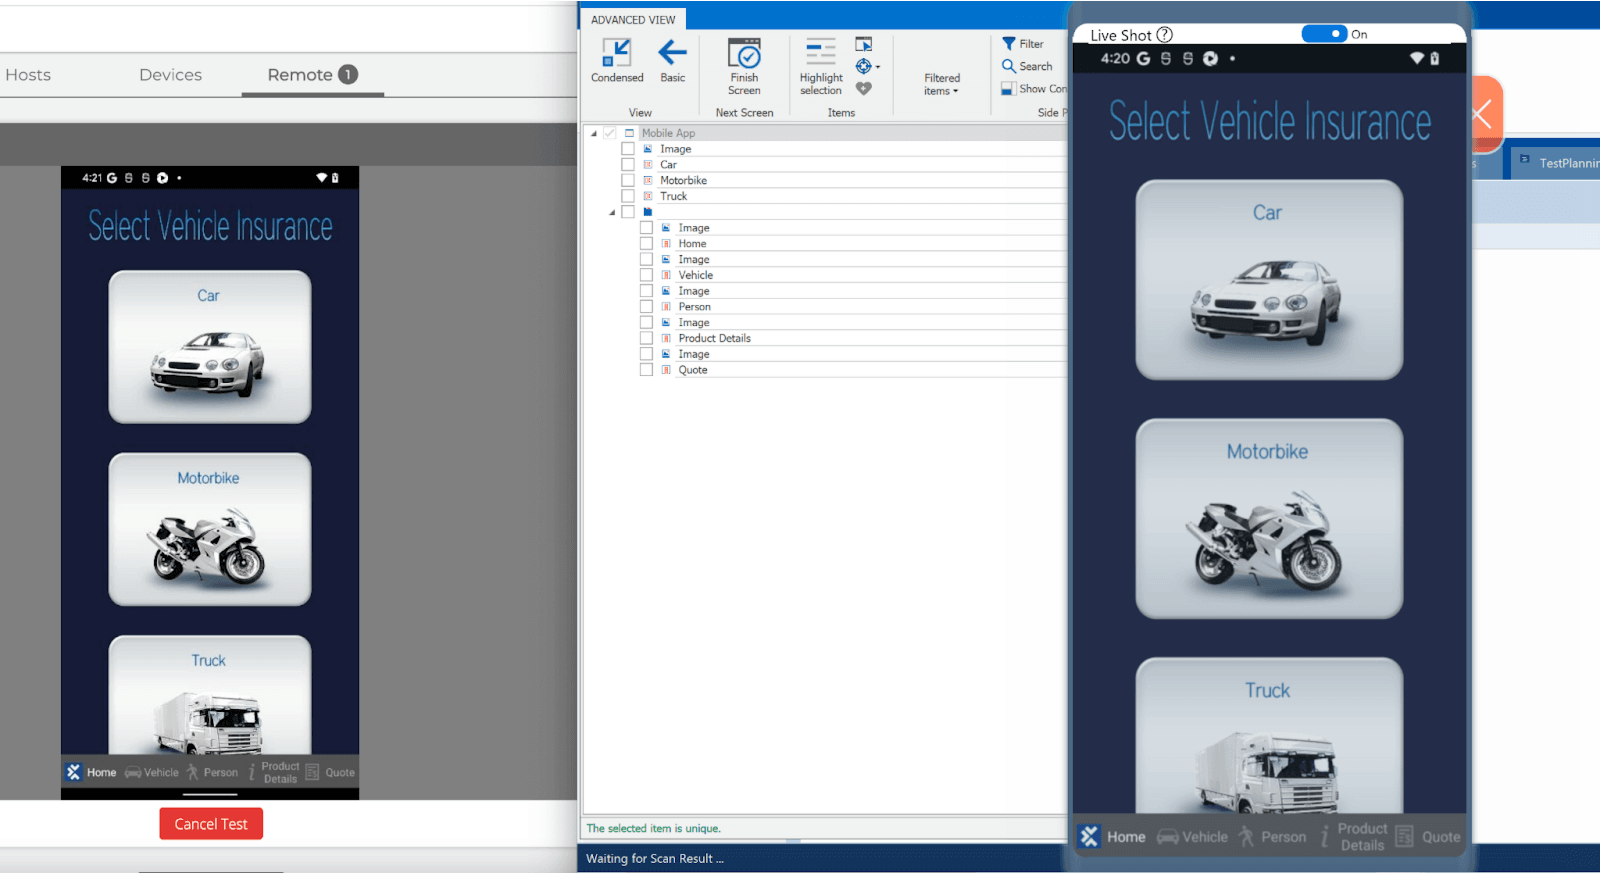
If you would like to view the device in the HeadSpin UI while you are scanning, you can click on the blue magnifier icon for the device:

By moving/resizing the windows, you can see it from both the Tosca view as well as the HeadSpin view.
Interact with your application to record the steps and test data. For information on how to perform this, please refer to the Tosca documentation.
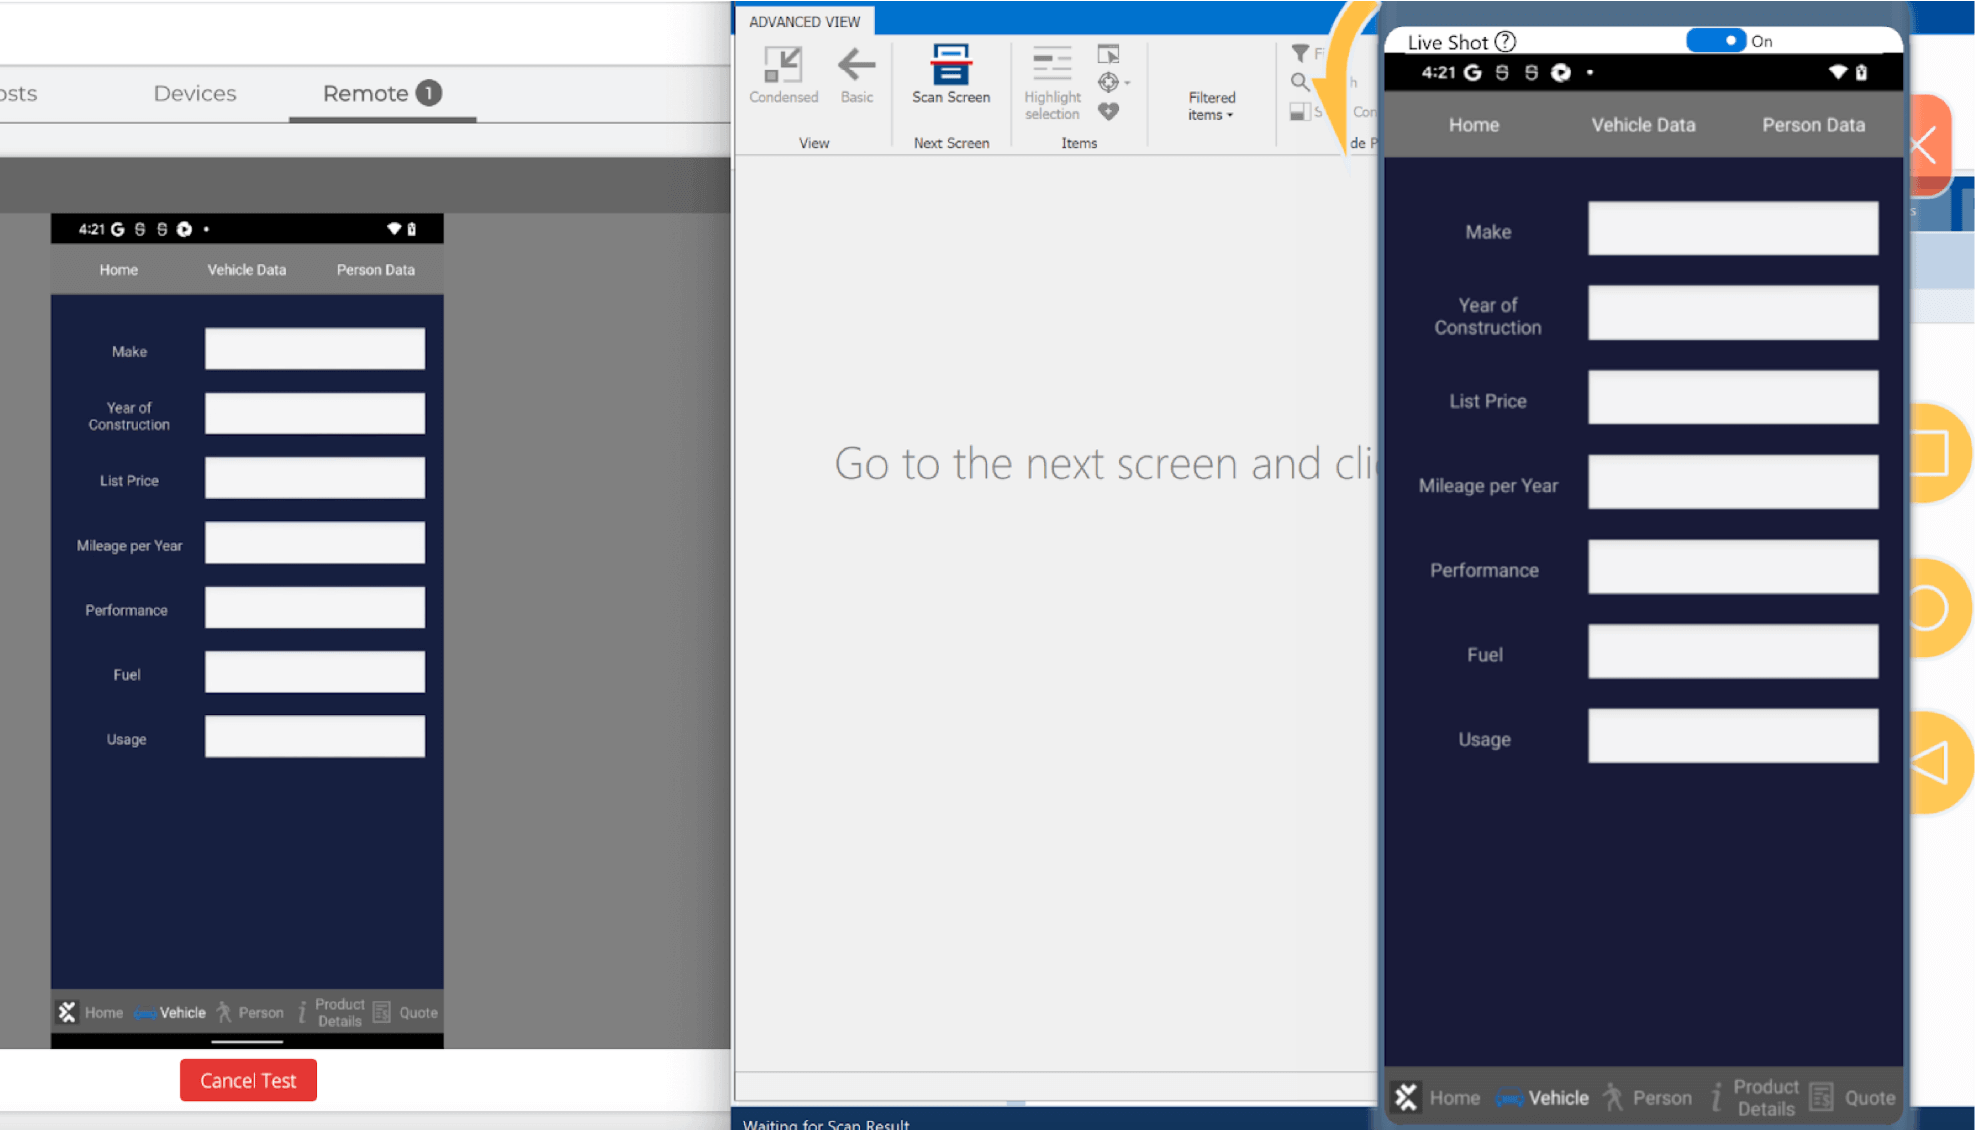
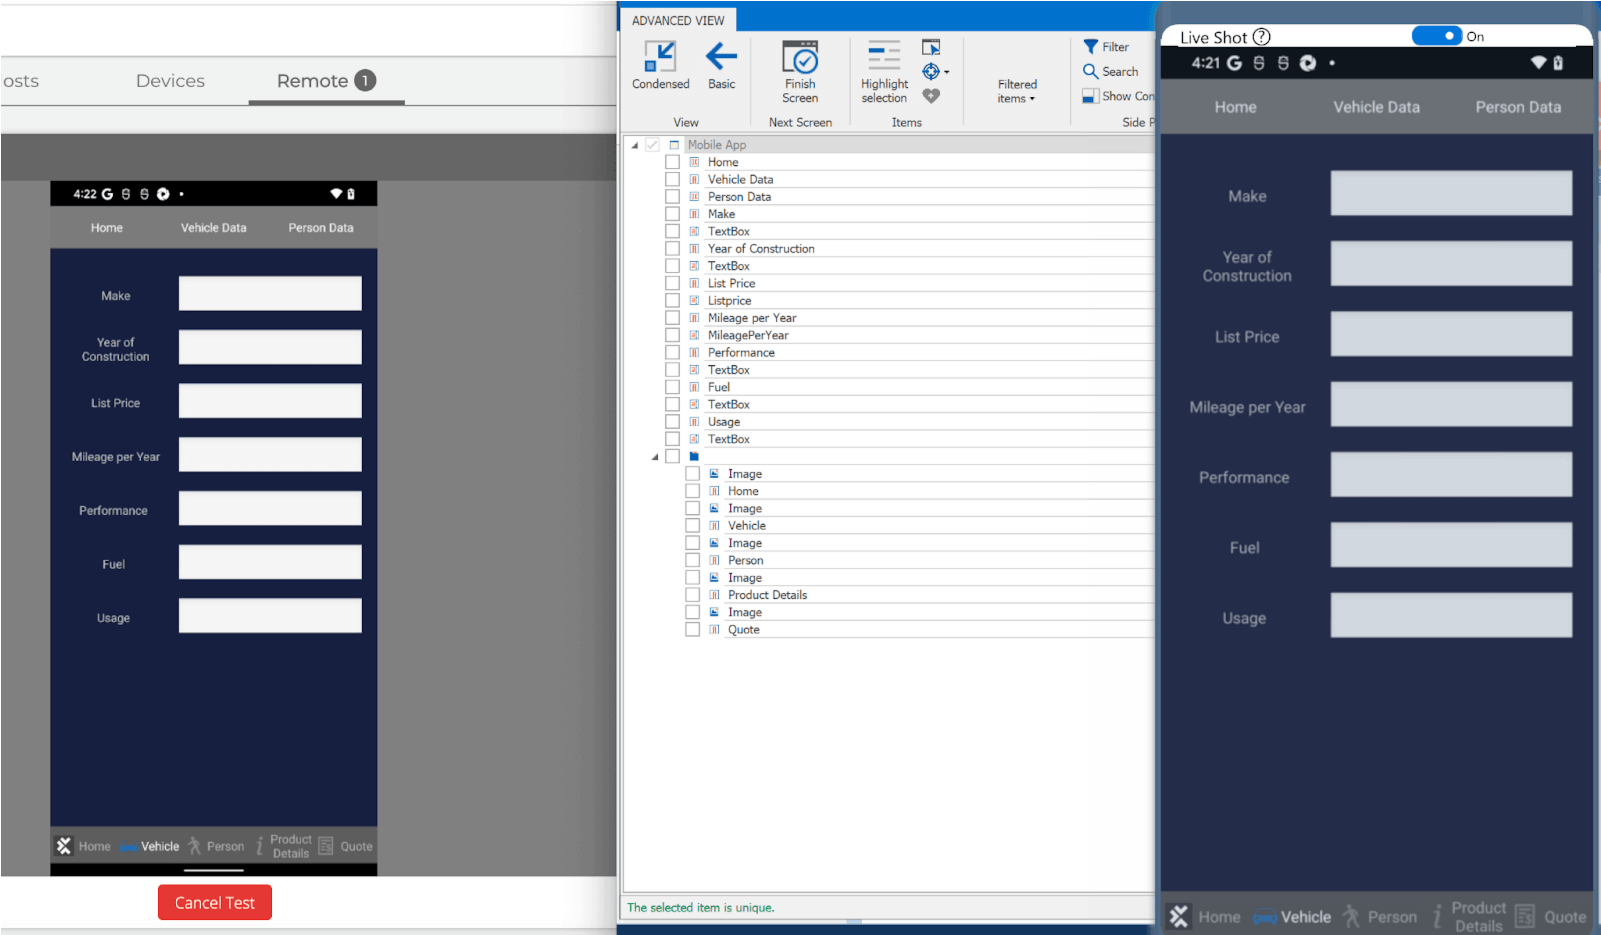
Once you have completed your application scanning, click on the Close button.

This will create your recorded Modules which you can then add to your Test Case.
How Do I Configure My Test Case to Execute on a HeadSpin Device?
Add Test Configuration Parameters
To execute your Test Case on a HeadSpin device, you simply need to add some Test Configuration parameters for the device. In your Test Case, click on Test configuration and add a parameter for AppiumServer, DeviceName (the HeadSpin Device ID) and Application (bundleID for iOS, AppPackage/AppActivty for Android). If you want to watch the execution via Tosca, enter a LiveView parameter as well.

Leverage the power of the HeadSpin platform
You can add some additional HeadSpin specific Desired Capabilities to take advantage of the power of the HeadSpin platform. For example, to record the session and capture the network traffic, add a Desired Capability called headspin:capture and set the value to true. Additionally, to automatically add the session to a HeadSpin User Flow, add a Desired Capability called headspin:testName and give it the appropriate User Flow name.
An example is below:

Add the Open Mobile App module
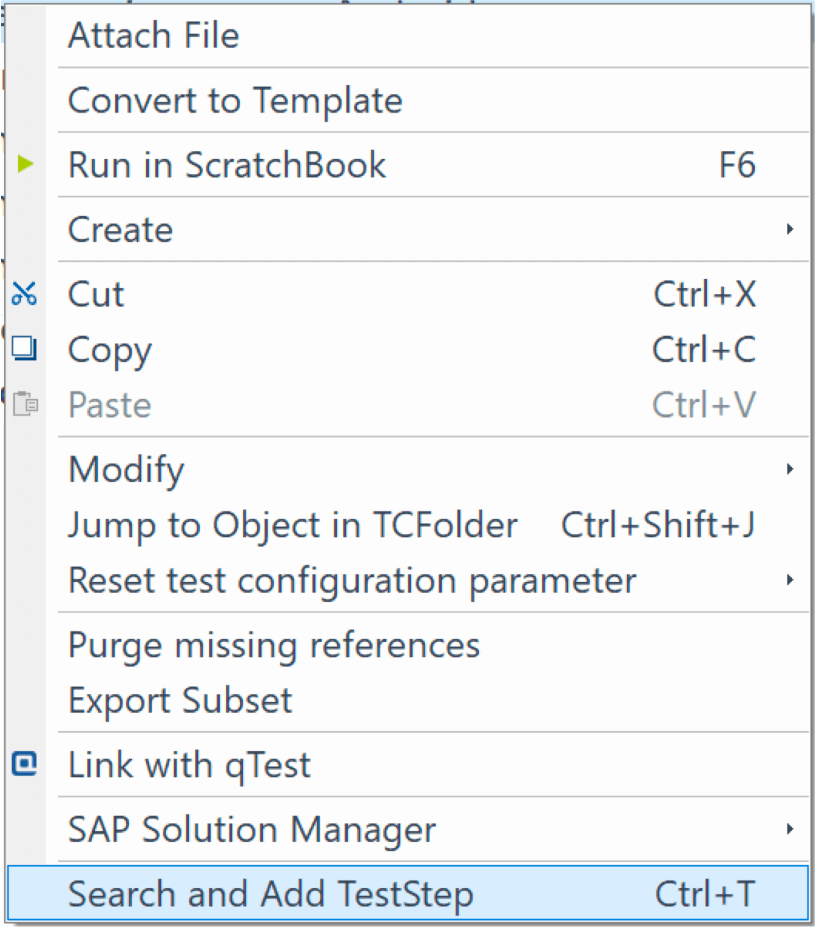
For mobile application testing, you will need to add a step to start/open the mobile application. Right click in your Test Case (or Ctrl+T) and select: Search and Add TestStep
You will need to add this step as one of your first steps, maybe in a Preconditions folder.
In the TestStep, enter the application identifier for your application, either bundleID for iOS or AppPackage/AppActivity for Android.

Start Your Test
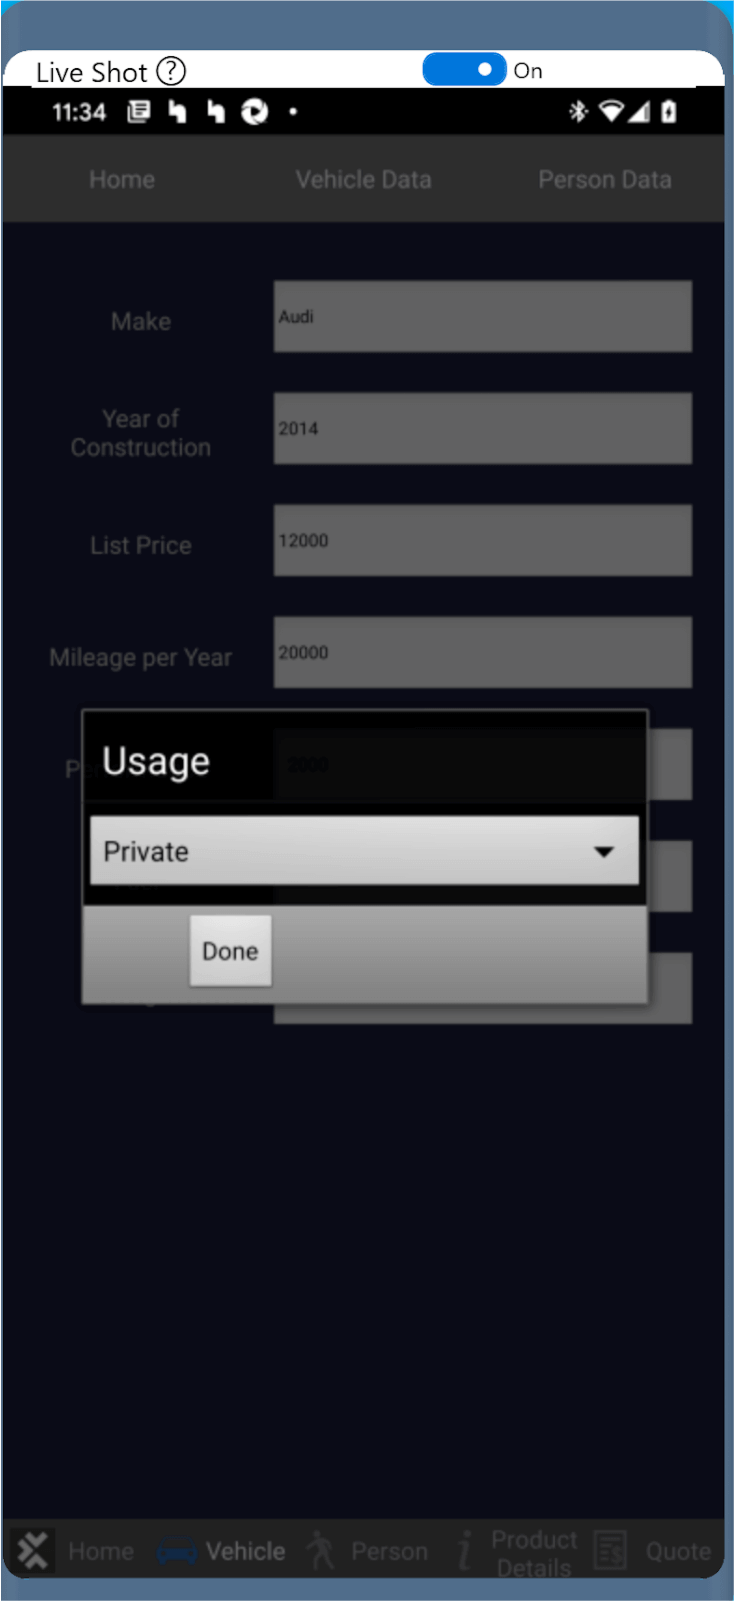
You can run your test and either watch the device via the LiveView (if enabled):
or in the Headspin UI. In the Headspin UI click on the blue magnifying glass as done when scanning:
Test Results
Tosca
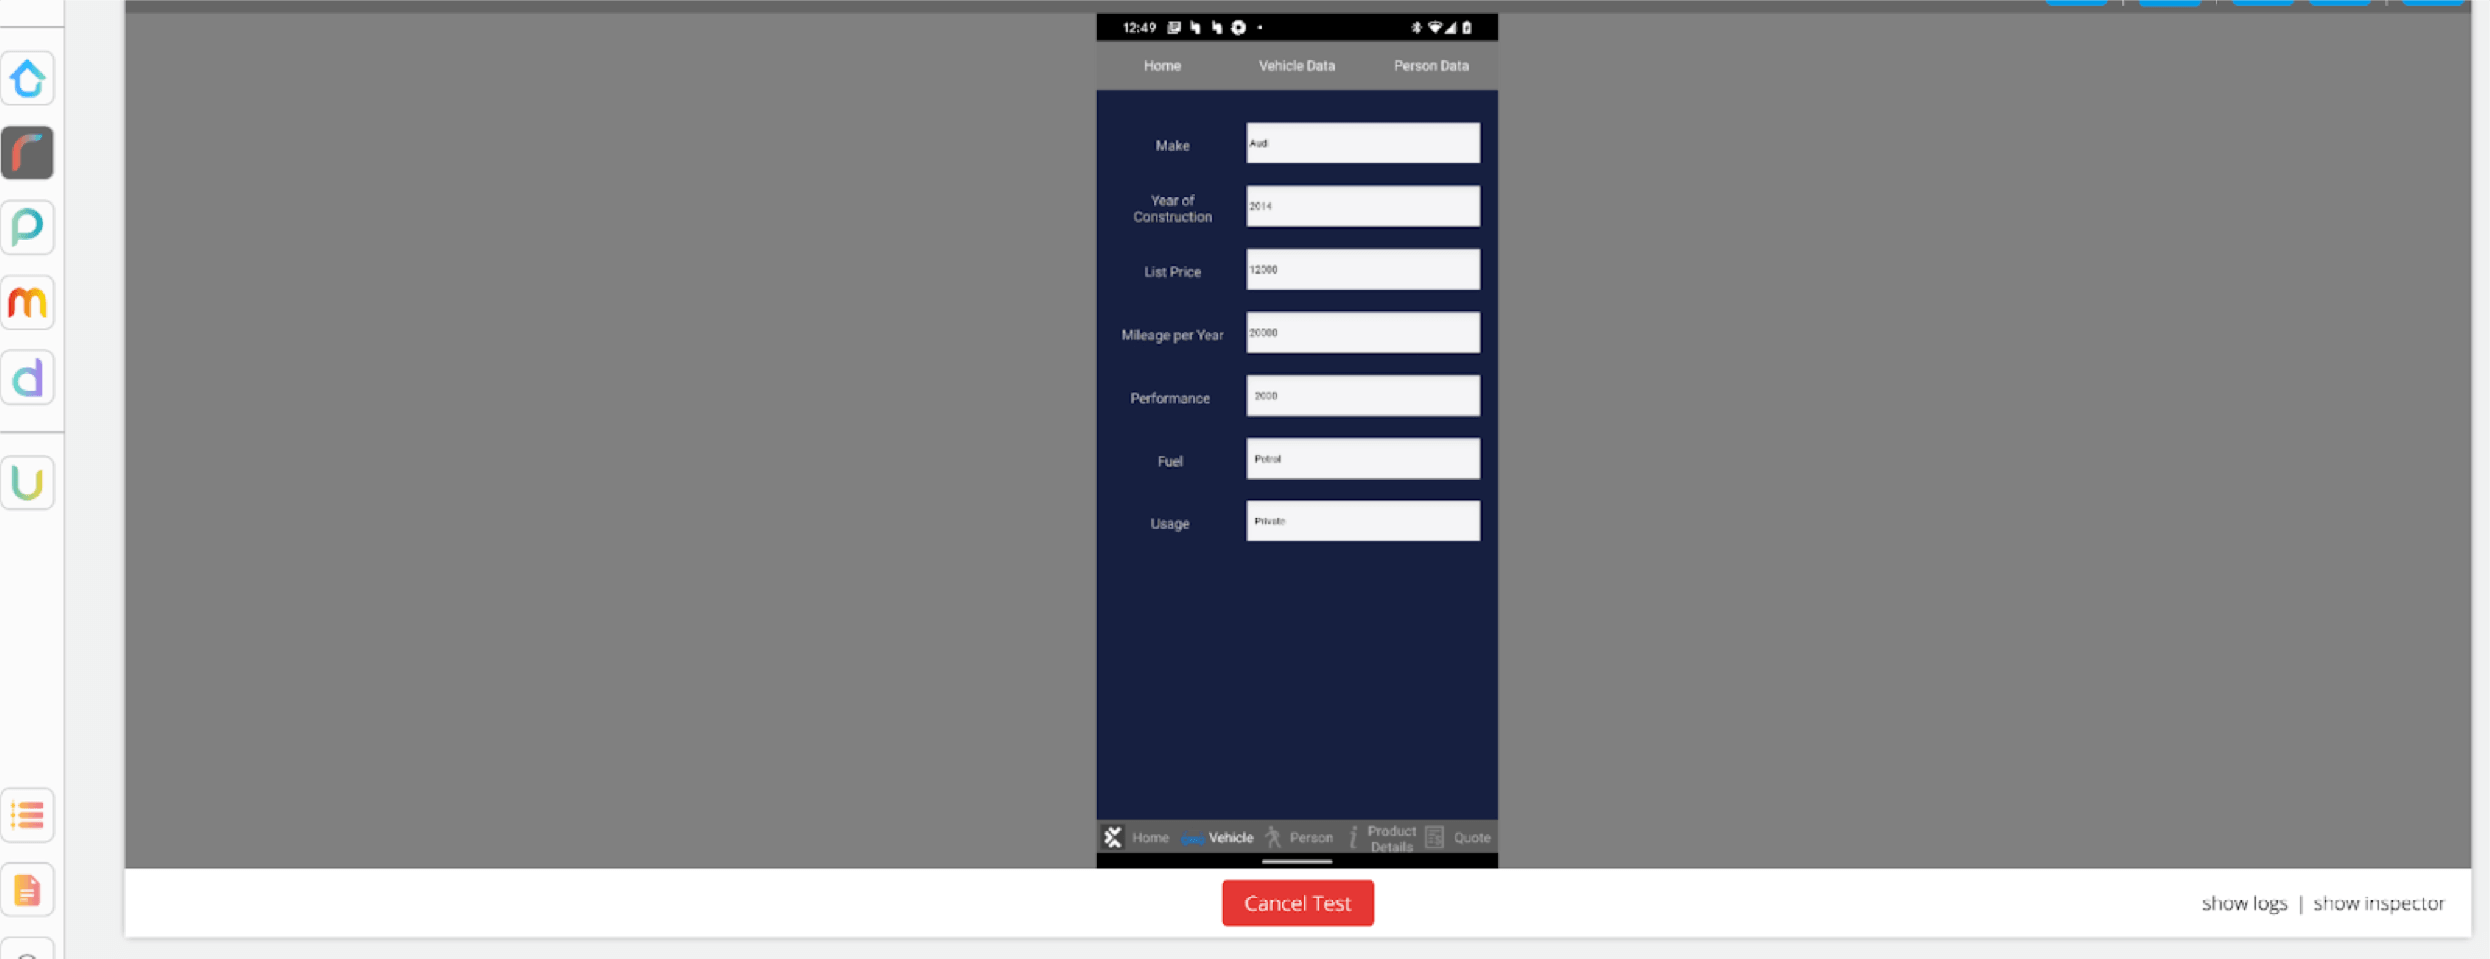
When the test completes, you can view the results within Tosca. For example, when running out of Scratchbook, you can see each step result:

HeadSpin Performance Session
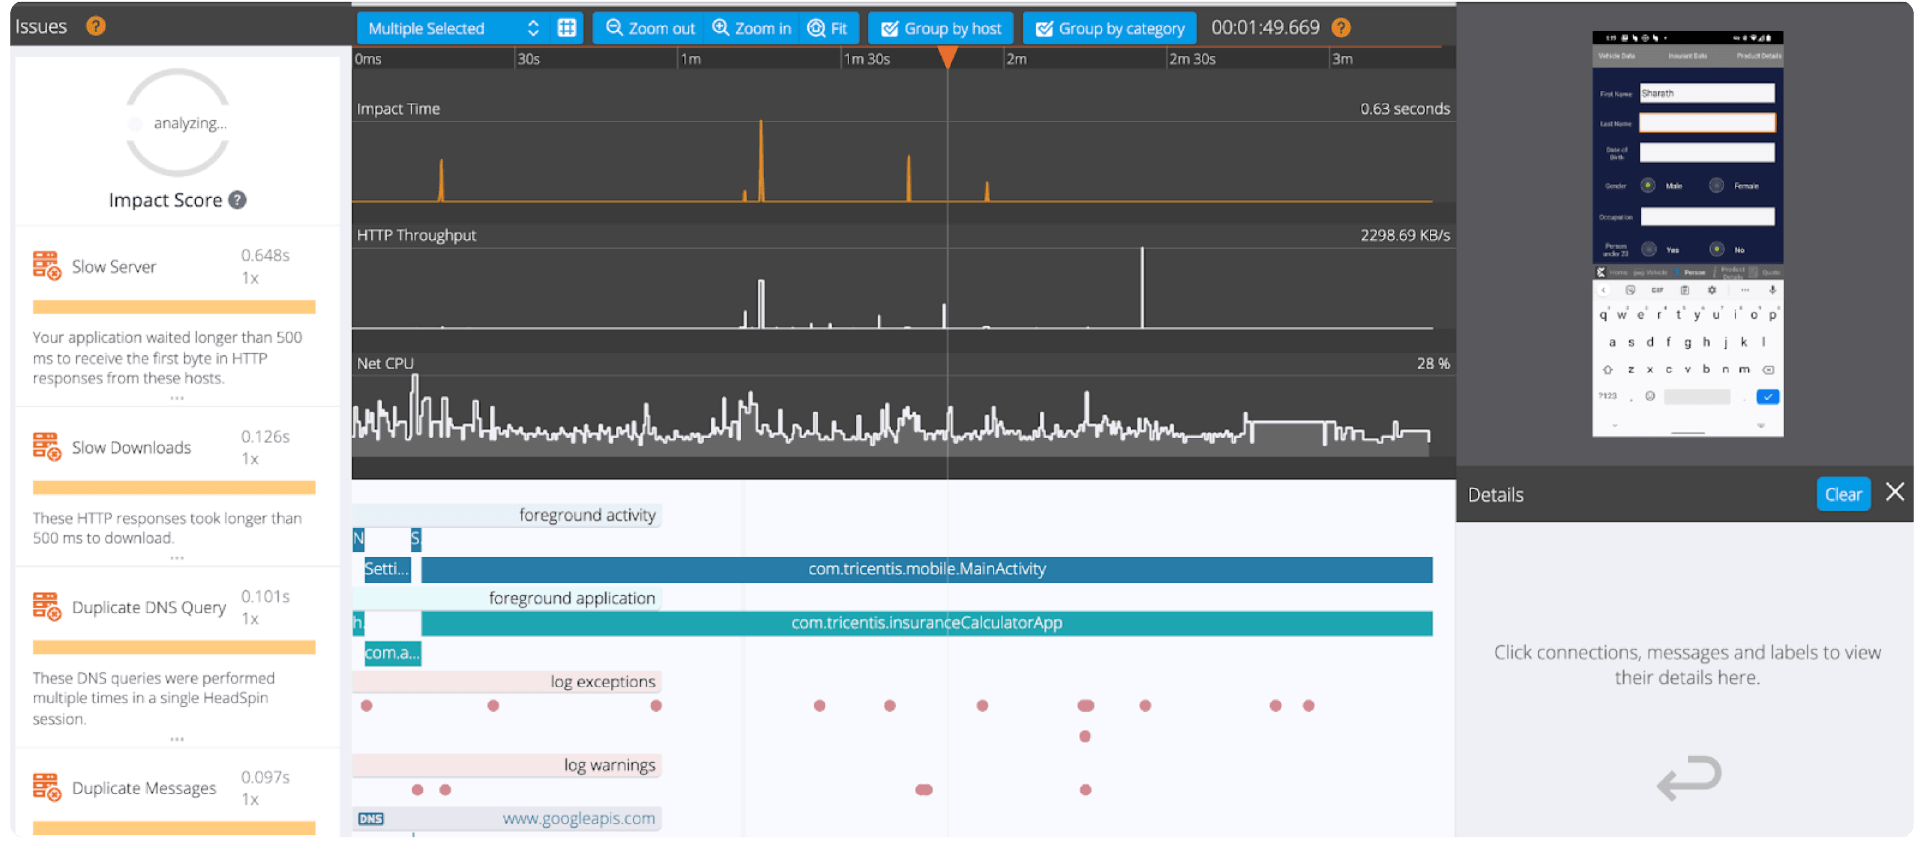
If you enabled the headspin:capture Desired Capability, you can view the Performance Session to view the results captured by HeadSpin:
Conclusion
You can easily configure Tosca to utilize the devices within HeadSpin for both scanning and creating tests as well as test execution. This allows you to take advantage of two industry leading technologies in the testing market: test automation from Tricentis and diverse device endpoints from HeadSpin.
Combining these two technologies will provide you with a world-class testing environment and will allow you to test faster with more comprehensive test coverage and in-depth analysis after the tests have been completed.


-1280X720-Final-2.jpg)


