AI-Powered Key Takeaways

One of the great things about Appium is that it can be used for far more than mobile app automation. While iOS and Android remain the most popular use case for Appium, it is also possible to use Appium to automate a host of other platforms, including Windows and Mac desktop applications. In this article, we'll take a look at how to use Appium to automate Windows desktop apps.
Automation of Windows apps is actually quite a special thing in the Appium world, since Microsoft itself supports this automation via the development of a tool called WinAppDriver. WinAppDriver is essentially an Appium-compatible automation interface, which Appium automatically includes if you specify the appropriate desired capabilities for your test.
Windows Automation Setup
What do you need to run automated tests of native Windows apps? Well, it goes without saying that you need a Windows PC to host and run your applications, as well as running the Appium server that will perform the automation. (Your client script, of course, can run anywhere you like as long as it can connect to Appium running on Windows over the network.)
Here's everything that I needed to do to get Appium set up to automate Windows apps:
- Navigate to "Developer Settings" under "System Settings", and turn on "Developer Mode" (this is required for WinAppDriver to control the desktop).
- Install NodeJS.
- Start an Admin command prompt (type "cmd" into the Start menu and then hit CTRL+SHIFT+ENTER to launch the command prompt in Admin mode).
- Use the NPM binary installed with Node to download the most recent version of Appium:
5. Run Appium (ensuring I'm still in the Admin console!)
At this point, my system is now ready to go, with an Appium server running on the default port of 4723. All that's left is to decide what to automate!
Windows Automation Desired Capabilities
Which capabilities are necessary for use with Windows app automation? Pretty much just the typical ones:
- platformName should be set to Windows
- platformVersion should be set to 10
- deviceName should be set to WindowsPC
- app should be set to the App ID of the app you want to test. For an app that you've created, the WinAppDriver docs state:
You can find the Application Id of your application in the generated AppX\vs.appxrecipe file under RegisteredUserModeAppID node. E.g. c24c8163-548e-4b84-a466-530178fc0580_scyf5npe3hv32!App
For an app that you haven't created, like a built-in system app, I discovered a neat trick of opening up a PowerShell window and running the following command:
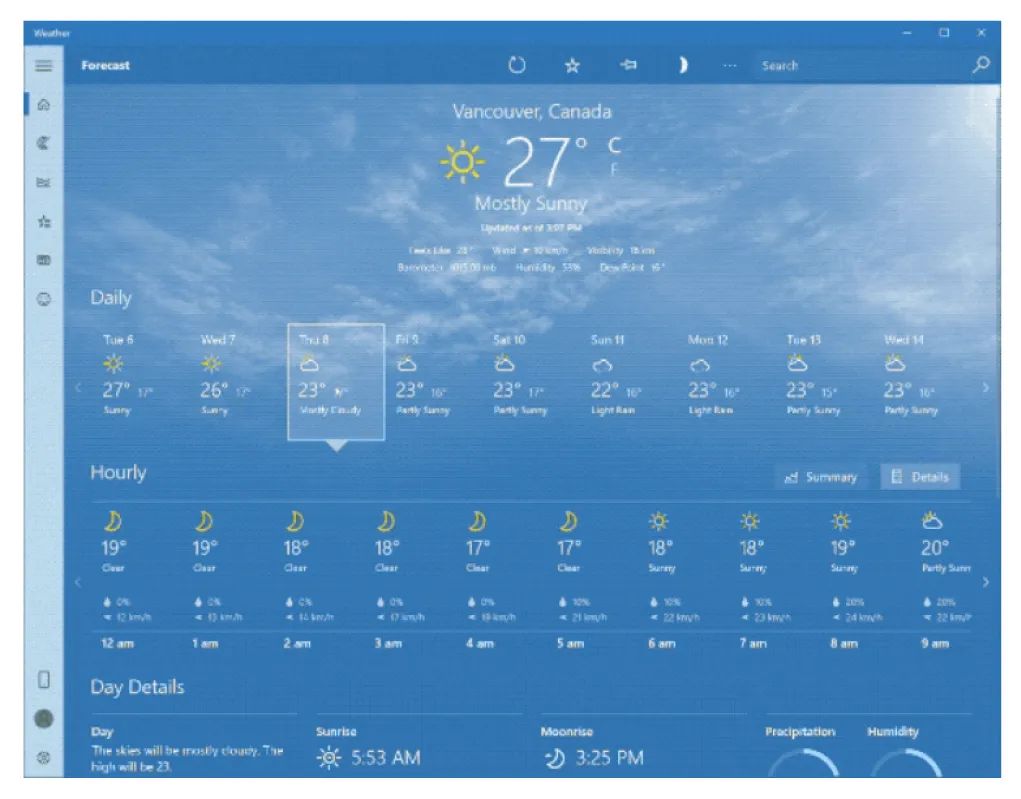
- This will list all the installed apps along with their App IDs. The app I chose to automate for this article was the built-in Weather app, which had the ID Microsoft.BingWeather_8wekyb3d8bbwe!App.
(The WinAppDriver docs also list several other capabilities that might be useful for your purposes, so check them out too.)
Ultimately, when put into Java client form, my capabilities look like:
Finding UI Elements In Windows Apps
I found the Weather app to be quite well-instrumented with automation-ready IDs and labels. After I was able to launch a session using the capabilities above, I ran driver.getPageSource() to have a look at the source XML. I found it to be quite useful, with plenty of sections like this, that clued me into the most helpful available attributes:
This is the representation of a ListItem element which shows a particular day of the week along with a little weather summary. We can see that the Name attribute has most of the information I might want, including the date, the high and low temperatures, and a weather forecast. I could easily find this element via the name locator strategy, or (as I ended up doing), using xpath.
Other non-dynamic elements had the AutomationId attribute set, and for these elements, we can use the corresponding attribute as the selector for the accessibility id locator strategy.
Writing a Test for a Windows App
Once we know how to find elements, there's really not much more we need to know to write our test! The only wrinkle I discovered is that, unlike Appium's behavior with mobile apps, WinAppDriver does not reset the state of applications when a session starts. This is both a blessing and a curse. It meant I could manually open the Weather app and click through all the prompts and ads, then trust that the state would remain the same when I launched an automated test. But it also means that you can't necessarily assume the app will always be in the same state across different systems (say in a CI environment).
Also, because I was running the test on the computer I was using, I of course had to stop work while the test was running, so as not to disturb it (WinAppDriver steals the mouse and moves it around just like a user would).
Without further ado, I present my very useless test of the Weather app, which simply finds every day which is listed in the app, clicks on each one, and then prints out the weather forecast (along with sunrise/sunset) for that particular day. Again, it's not a true "test" in the sense that I'm not making any verifications, but I am showcasing how easy it is to automate a Windows application using the Appium API.
Are you already using Windows automation effectively? Let us know about it in the comments to this article! And as always you can check out the full code for this article on GitHub.


.png)


-1280X720-Final-2.jpg)


