


.png)


.png)


AI-Powered Key Takeaways


Flutter testing is a process of testing software for defects. This type of testing can be done manually or through automated methods. The goal of Flutter app testing is to identify and fix errors in the code, in order to produce a high-quality product.
In this guide, we will learn how to use Flutter app testing to test our Flutter applications for defects. We will cover setting up your environment, writing tests, running tests, and debugging tests. By the end of this guide, you should be able to confidently write and run Flutter tests.
Debug mobile, web, audio and video apps on real devices around the world. Know more.
What is Flutter Framework?
Flutter is an open-source, cross-platform mobile application development framework created by Google. It is used to develop applications for Android and iOS. Flutter uses the Dart programming language. Flutter was first announced at the Google I/O conference in 2017.
Flutter allows developers to write one codebase for both iOS and Android applications. This is possible because Flutter uses the Dart programming language, which can be compiled into native code for both platforms. This means that developers do not need to learn two different languages, and they can use the same codebase for both iOS and Android applications.
Test and monitor websites & apps with our vast real local devices across the world. Know more.
What is Dart?
Dart is a programming language created by Google. It is used to develop web, server, and mobile applications. Dart is similar to JavaScript, but it has static type checking and strong mode features. Dart can be transpiled into JavaScript, which means that it can run on all major browsers.
What are the benefits of using Flutter?
There are many benefits to using Flutter, such as:
- Flutter is fast and responsive.
- Flutter is easy to learn and use.
- Flutter allows for cross-platform development.
- Flutter has a wide range of widgets and features.
- Flutter is backed by Google and has a large community to support
Disadvantages of using Flutter
There are some disadvantages to using Flutter, such as:
- The Dart programming language is not as popular as other languages, such as JavaScript or Java. This means that there is a smaller pool of Dart developers to choose from.
- Dart also has a slower performance than native code on iOS and Android devices.
Best Practices for Flutter Testing
When testing Flutter applications, adhering to best practices can ensure your app remains robust, reliable, and performant. Here are some essential best practices for Flutter testing:
1. Automate Early and Often
Begin by automating tests early in the development cycle. This lets you catch issues sooner and ensures that the development process remains agile. Frequent automated testing helps maintain code quality and detect regressions.
2. Use the Right Testing Strategy
Employ a balanced testing strategy, including unit, widget, and integration tests. Unit tests ensure individual functions work correctly, widget tests verify the UI components, and integration tests check the app's overall functionality.
3. Write Testable Code
Design your Flutter code with testability in mind. Follow the SOLID principles to create modular, maintainable, and testable code. Use dependency injection to manage dependencies and make your code easier to test.
4. Leverage Mocking and Stubbing
Use mocking and stubbing to isolate and test parts of your code independently. Libraries can help you create mock objects and define their behavior, allowing you to focus on the code under test without external dependencies.
5. Maintain Test Independence
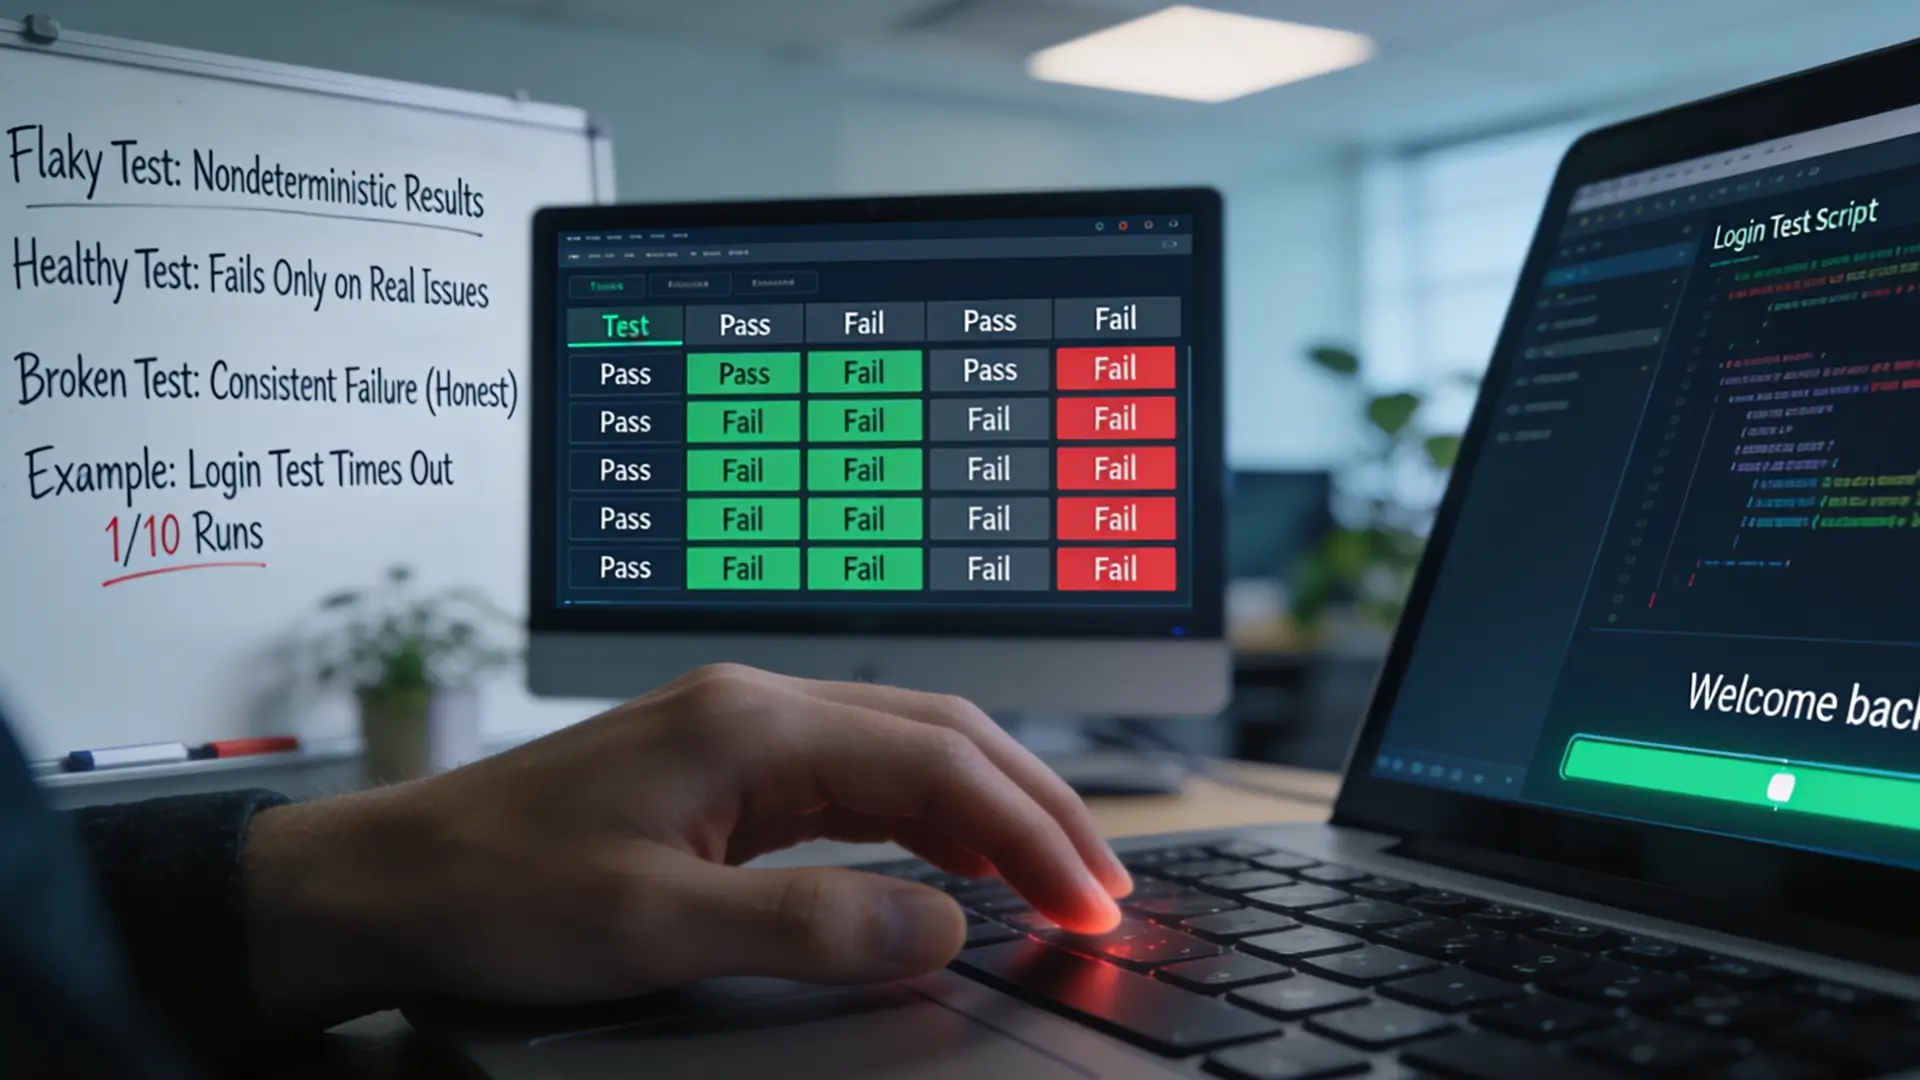
Tests should not rely on the outcome of previous tests and should have a clean slate to run in. This practice helps avoid flaky tests and ensures the consistency of each test run.
6. Utilize Test Coverage Tools
Employ test coverage tools to measure the extent of your test suite. Ensure that your tests cover a large portion of your codebase to verify that most of your applications are being tested. However, focus on meaningful coverage rather than achieving 100% coverage.
7. Run Tests on Real Devices
While emulators and simulators are useful for initial testing, always run your tests on real devices before release. Real devices provide a more accurate representation of how your app will perform in the hands of users, helping you catch device-specific issues.
What is Flutter testing and How is Flutter testing conducted?
Flutter app testing is a process of testing software for defects. This type of testing can be done manually or through automated methods. The goal of Flutter app testing is to identify and fix errors in the code, in order to produce a high-quality product.
Read: A Comprehensive Guide on Automated Testing
Flutter app testing is conducted by running the code through a series of tests. These tests can be run manually or automatically. The results of these tests help developers identify and fix errors in the code.
Benefits of Flutter App Testing
The benefits of Flutter framework testing include:
- Helping to produce high-quality code
- Identifying and fixing errors quickly
- Improving the efficiency of the development process
Check out: 11 Ways to Run Efficient Software Quality Testing
Difference between manual and automated Flutter app testing
Manual Flutter app testing is conducted by running the code through a series of tests. These tests can be run manually or automatically. The results of these tests help developers identify and fix errors in the code.
Automated Flutter app testing is conducted by running the code through a series of tests. These tests are run automatically, and the results of these tests help developers identify and fix errors in the code.
There are many advantages to using automated Flutter testing, such as:
- Automated tests can be run quickly and easily.
- Automated tests can be run on multiple devices simultaneously.
- Automated tests can be run on a variety of devices, including emulators and simulators.
- Automated tests can be run on real devices.
Despite these benefits, there are some challenges associated with Flutter app testing. One challenge is that manual testing can be time-consuming and error-prone. Finally, automated testing tools can be expensive and may not always be accurate.
Test your apps on real devices and get accurate results. Learn more.
Flutter app testing can be a valuable tool for any software development team. By taking the time to set up an effective test environment and using both manual and automated testing methods, the team can improve the quality of their product and save time and money in the long run.
Set up your project for Flutter testing
Before you can start testing your code, you need to set up your project for Flutter testing. This process includes installing the Dart SDK and setting up your IDE.
Once you have installed the Dart SDK, you need to set up your IDE. We recommend using Visual Studio Code with the Dart plugin.
Once you have installed the Dart SDK and set up your IDE, you can install the Flutter_test package by running the following command:
This command will add the Flutter_test package to your pubspec.yaml file.
Writing Effective Test Cases for Flutter Testing
When it comes to Flutter testing, crafting effective test cases is pivotal. A well-written test case ensures that your Flutter apps behave as expected and that future changes do not break functionality. Here's how you can write effective test cases for Flutter testing:
Understand Your Application
Before diving into writing test cases, clearly understand your application's functionality and user requirements. This knowledge forms the basis of what aspects of your application need thorough testing.
Define Clear Objectives
Each test case should have a clear objective and aim to verify a specific functionality. This approach ensures that your tests are focused and meaningful rather than just adding to the quantity.
Keep It Simple and Precise
An effective test case should be straightforward and not overly complicated. It should clearly state what is being tested, how it is being tested, and the expected result. Avoid ambiguity to ensure anyone who runs the test can easily understand its purpose.
Use Descriptive Names
Naming your test cases descriptively is crucial for maintainability. The name should convey what the test does, making identifying failed tests easier and understanding what part of your application may be affected.
Prioritize High-Risk Areas
Focus on parts of your application that carry the highest risk if they were to fail. These areas might include user authentication, data integrity, or any other critical functionalities that could significantly impact the user experience.
Automate When Possible
Leverage Flutter's rich set of testing tools to automate your test cases. Automated tests save time and can be run frequently throughout the development cycle, ensuring immediate feedback on changes.
Incorporate Different Testing Types
While writing test cases, consider incorporating various types of testing:
- Unit Tests: Test individual functions or classes.
- Widget Tests: Test single widget interactions.
- Integration Tests: Test a complete app or a large part of it functioning together.
Review and Refine
Regularly review your test cases for relevance and accuracy, especially after major changes in your application. Update them to reflect new business rules or functionalities to ensure they remain effective.
Document Each Test Case
Proper documentation of your test cases is essential. Include the required setup, steps to execute the test, expected outcomes, and special instructions. This documentation can be invaluable, especially when tests fail or when new team members are onboarded.
These guidelines can help you create robust and effective test cases that enhance the quality and reliability of your Flutter applications.
How to write tests in Flutter?
In order to write tests in Flutter, you need to use the dart:test package. This package provides a variety of methods and classes that you can use to write tests.
The first step is to create a file called test.dart in the root directory of your project. In this file, you will import the dart:test package and define a main() function.
Next, you will need to write your tests. To do this, you will need to use the test() function. This function takes two arguments: a description of the test and a callback function. The callback function contains the code that will be executed when the test is run.
Within the callback function, you will need to use the expect() function. This function takes two arguments: the value that you are testing and the expected value. If the values match, then the test will pass. Otherwise, the test will fail.
You can also use the fail() function to force a test to fail. This function takes a single argument: a description of the error.
Finally, you will need to call the flutter test CLI command. This function will run all of the tests that you have defined.
Example
Running your tests
Once you have written your tests, you can run them using the flutter test command. This command will run all of the tests in your project.
If you want to run a specific test, you can use the --name flag. This flag takes a regular expression as an argument. The tests that match the regular expression will be run.
For example, if you have a test called test_foo() and a test called test_bar(), you can use the following command to run only the test_foo() test:
You can find available options by calling flutter test –help
Debugging your tests
Sometimes, your tests will fail and you will need to debug them. The best way to debug your tests is to use the debugger function. This function will take a callback function as an argument. The callback function will be executed when the test is run in debug mode.
To start a debugging session, you will need to use the --start-paused flag. You need a single test file to run. This flag will cause the debugger to break at the first line of code in the callback function.
You can then use the various debugger commands to step through the code and examine the values of variables.
For more information about debugging, see the dart:developer package.
Types of Flutter Tests
There are three main types of Flutter tests:
Unit Tests: These tests focus on individual units of code, such as classes and methods. Unit tests are typically written by developers.
Unit tests are used to test individual units of code, such as classes and methods. Unit tests are written by developers and help to ensure that the code is working correctly.
To write a unit test, you first need to create a unit test file. This file contains the tests that will be run on the code. The file should have a .dart extension.
In the unit test file, you will need to import the dart:test package. This package provides the classes and methods necessary for writing tests.
Next, you will need to load the test target to run tests for it.Finally, you will need to write the tests themselves. The tests should be written in the form of a function. The function should take an instance of the class being tested as an argument.
Example:
In this example, we are testing the add() method of the MyTestClass class. We expect the method to return true.
Widget Tests: Widget tests are used to test a single widget of a Flutter application. Widget tests are written using the WidgetTester class.
To write a widget test, you first need to create a file with a .dart extension. In this file, you will need to import the package:Flutter_test/Flutter_test.dart package.
Next, you will need to import a class that extends the StatelessWidget class. This class will contain the code for the widget being tested.
Finally, you will need to write the tests themselves. The tests should be written in the form of a function. The function should take an instance of the WidgetTester class as an argument.
Example:
In this example, we are testing the text property of the MyApp widget and tapping it. We expect the text (0, 1) to exist or not exist in MyApp'.
Integration Tests: Integration tests are used to test the entire Flutter application. System tests are written using the package:integration_test package.
To write an integration test, you first need to create a file with a .dart extension. In this file, you will need to import the package:integration_test/integration_test.dartt package and your test app’s main function
Next, you will need to add IntegrationTestWidgetsFlutterBinding.ensureInitialized() to initialize the application under test for the integration test.
Finally, you will need to write the tests themselves. The tests should be written in the form of a function. The function should take an instance of the TestWidgets class as an argument.
Example:
In this example, we are testing the same as WidgetTest the above. This integration test requires a device to run the test on it.
Difference between Flutter testing for iOS vs Android
There are a few key differences between Flutter testing for iOS and Android:
- On iOS, tests are run on the simulator. On Android, tests are run on a physical device or an emulator.
- On iOS, the default language for tests is Swift. On Android, the default language for tests is Java or Kotlin.
- On iOS, the default testing framework is XCTest. On Android, the default testing framework is JUnit.
- On iOS, you can use Apple's Instruments tool to profile your application. On Android, you can use the Android Profiler tool to profile your application.
Tools and resources for Flutter testing
There are a few tools and resources that can be helpful when testing Flutter applications:
The Flutter_test package: This package provides a set of utilities for writing tests. It includes a WidgetTester class for testing widgets, and a Mockito class for mocking objects. Flutter_test package can be found here: https://pub.dev/packages/Flutter_test
The integration_test package: This package provides an ability to run integration tests like running tests on a physical device or emulator. The package can be found here: https://docs.Flutter.dev/testing#integration-tests
The Flutter_driver package: This package provides a set of tools for writing driving tests. Driving tests are used to test the behavior of a Flutter application when it is interacting with the platform. Flutter_driver package can be found here: https://api.flutter.dev/flutter/flutter_driver/flutter_driver-library.html
The Mockito package: This package provides a set of mocking utilities. These utilities can be used to mock objects in order to test the interaction between different parts of a Flutter application. Mockito can be found here: https://pub.dev/packages/mockito
Apple's Instruments tool: This tool can be used to profile iOS applications. Instruments can be found here: https://developer.apple.com/library/archive/documentation/DeveloperTools/Conceptual/InstrumentsUserGuide/intro/intro.html
Android Profiler tool: This tool can be used to profile Android applications. Android Profiler can be found here: https://developer.android.com/studio/profile
The WidgetTester class: This class provides a set of methods for writing system tests. WidgetTester can be found here: https://api.flutter.dev/flutter/flutter_test/WidgetTester-class.html
Advanced techniques for Flutter testing
There are a few advanced techniques that can be used when testing Flutter applications:
Mocking: Mocking is a technique that can be used to stub out dependencies in order to isolate the code being tested. Mocking can be done using the Mockito package.
To mock an object, you will first need to create a class that extends the Mock class. This class will contain the code for the mock object.
Next, you will need to create an instance of the mock object. You can do this using the Mockito.mock() method.
Finally, you will need to stub out the methods of the mock object. You can do this using the Mockito.when() method.
Here is an example of how to mock an object:
In this example, we are mocking the someMethod() method of the MyMockClass class. We are stubbing the method to return true.
Profiling: Profiling is a technique that can be used to identify performance bottlenecks in an application. Profiling can be done using the Apple's Instruments tool on iOS, or the Android Profiler tool on Android.
Instruments and Android Profiler both provide a set of tools for analyzing the performance of an application.
To profile an application using Instruments, you will first need to launch the tool. Then, you will need to choose the target application that you want to profile.
Once the target application has been chosen, you will need to select the type of profiling that you want to do. There are a few different types of profiling that can be done: time profiler, allocations, CPU usage, and memory usage.
Once the type of profiling has been selected, you will need to choose the file that you want to save the results to. Finally, you will need to press the record button and let the profiler run for a few minutes.
Once the type of profiling has been selected, you will need to press the record button and let the profiler run for a few minutes.
Best practices for writing Flutter tests?
There are a few best practices that you should follow when writing Flutter tests. These best practices include:
- Test early and often: The sooner you start testing, the better. Write tests as soon as you write code. This will help you catch errors early and avoid spending time debugging code that is already working.
- Make your tests small and focused: Each test should only test one thing. This will help you find and fix errors more quickly.
- Write readable tests: Your tests should be easy to read and understand. This will help you and others find and fix errors more quickly.
Common issues that can occur during Flutter testing and how to fix them
There are a few common issues that can occur when testing Flutter applications. These issues include:
Flutter tests are slow: If your tests are taking too long to run, you may need to optimize your code or use a different testing framework.
Flutter tests are failing: If your tests are failing, you may need to debug your code or update your test suite.
Flutter tests are not running: If your tests are not running, you may need to install the Flutter_test package or update your test suite.
How do I set up continuous integration for my Flutter project?
There are a few steps that you need to follow in order to set up continuous integration for your Flutter project:
1. Install the Flutter_driver package: You can install the Flutter_driver package. you should manage necessary dependencies in pubspec.yaml. Then you can install necessary packages by running the follow command:
2. Create a new file called “ci.sh” in the root of your project: In this file, you will need to add the following code:
3. Run the tests: You can run the tests by running the following command:
4. View the results: The results of the test will be outputted to the console.
How does Flutter integrate with the HeadSpin Platform?
HeadSpin platform integrates with Flutter to provide a complete mobile development and testing solution. With HeadSpin, you can:
- Test your app in Flutter
- Test your app on real devices
- Monitor the performance of your dashboard
- Analyze and save the crash reports of your dashboard
To get started with HeadSpin, you will need to create a new account and login.
- Login into the HeadSpin Dashboard.
- Use the HS Connect to integrate with flutter apps and write tests.
- Write your tests in Dart.
- Once you have created your test, you can select the devices that you want to test on and begin your test.
- When your test is complete, you can view the results in the HeadSpin dashboard. The results will include a detailed report of any errors or issues that were found during the test.
- You can also view the performance of your app on the HeadSpin dashboard. The dashboard will show you the average response time, CPU usage, and memory usage of your app.
- You can also view the crash reports of your app on the HeadSpin dashboard. The crash reports will include a stack trace and details of the crash.
- You can also view the logs of your app on the HeadSpin dashboard. The logs will include all the log messages that were outputted by your app during the test.
- You can also save the results of your test on the HeadSpin dashboard. The results will be saved in a JSON format and can be downloaded for future reference.
Conclusion
In conclusion, Flutter testing is a process of testing Flutter applications for defects. This type of testing can be done by using manual or automated methods. There are a few tools and resources that can be helpful when writing tests, such as the Flutter_test package, the TestWidgets class, and the Android Profiler tool. Thanks for reading!
Flutter Testing FAQs
Q: Why is Flutter preferred for mobile app development?
A: Flutter is preferred for mobile app development because it is a cross-platform framework that allows you to write one codebase that can be used on both iOS and Android. It is also easy to learn and has a large community of developers who can help you if you run into any issues.
Q: Why was Flutter developed
A: Flutter was developed by Google to help developers create high-quality, responsive, and fast applications.
Q: What language is used for developing in Flutter?
A: The Dart programming language is used for developing in Flutter.
Q: How can I learn more about Flutter testing?
A: You can learn more about Flutter testing by reading this Flutter testing guide or by taking a course on Udemy.
Q: What are some common tools used for Flutter testing?
A: Some common tools used for Flutter testing are the Flutter_test package, the TestWidgets class, and the Android Profiler tool.
Q: How does HeadSpin integrate with Flutter?
A: HeadSpin integrates with Flutter to provide a complete mobile development and testing solution. With HeadSpin, you can test your app in Flutter, test your app on real devices, monitor the performance of your app, and save the crash reports of your app.
Q: What is the results format of HeadSpin?
A: The results format of HeadSpin is JSON. You can view the results of your test in the HeadSpin dashboard and you can also download the results for future reference.


-1280X720-Final-2.jpg)


